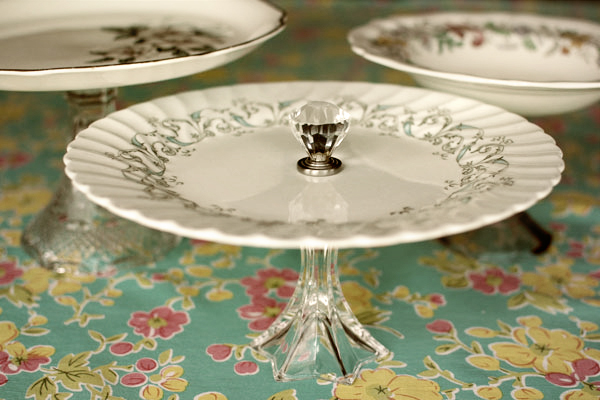
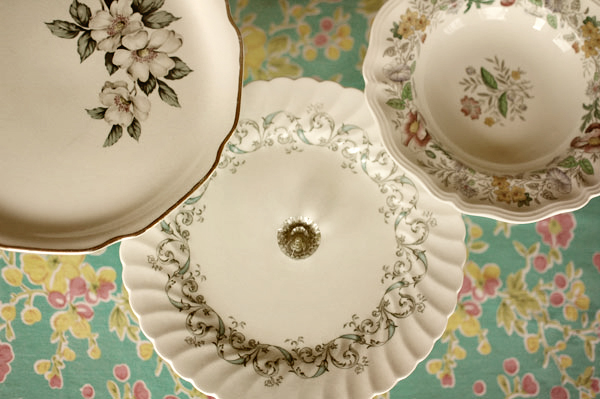
Vintage cake stands are a coveted item these days. They add a charming touch to a vintage themed wedding. If you’re lucky, you can find vintage cake stands at resale shops and yard sales. But they’re not easy to find – at least not at a cheap price.
Don’t fret! You can make your own vintage cake stands. And it only takes a few minutes!
Here’s what you need:
- vintage plate
- glass candlestick
- crystal drawer pull (this is optional)
- epoxy glue (slow drying if you are making more than one vintage cake stand)
- ruler
- Sharpie
- Popsicle stick
- Q-tip
- something to mix your epoxy in (I used a recycled aluminum tray)
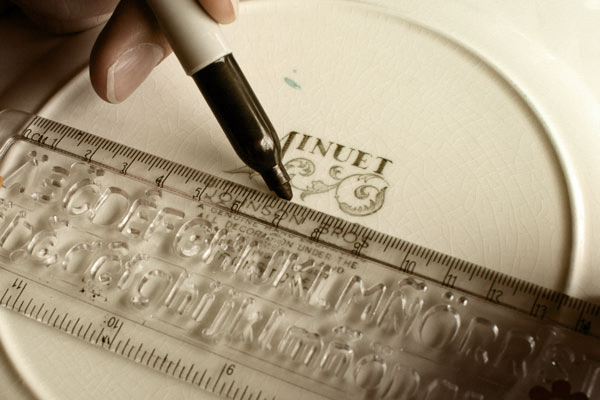
Find the half way point on the back of your plate and place a dot using a Sharpie or other marking device.
Pour your epoxy in a well ventilated area. (I used the fast drying epoxy, and it hardened in the tray and was no longer usable after about four minutes. If you are making several plates I would suggest using the slow drying epoxy.)
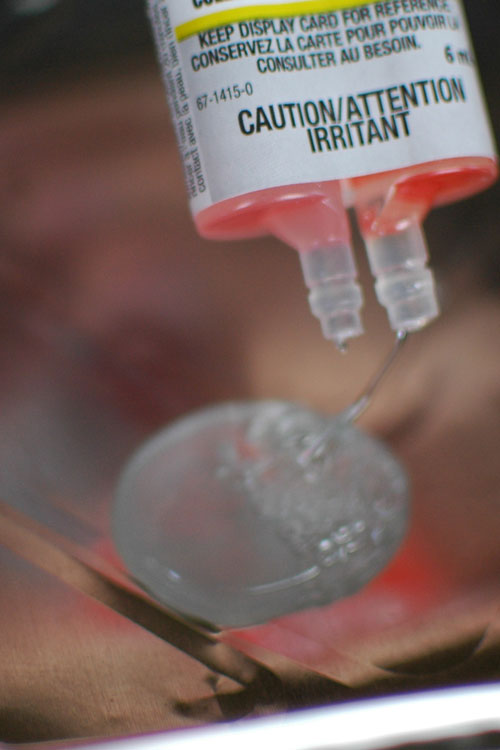
Mix the epoxy using a Popsicle stick.
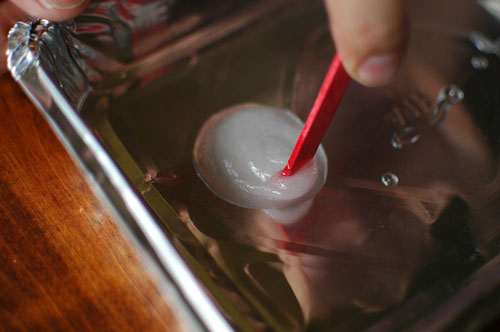
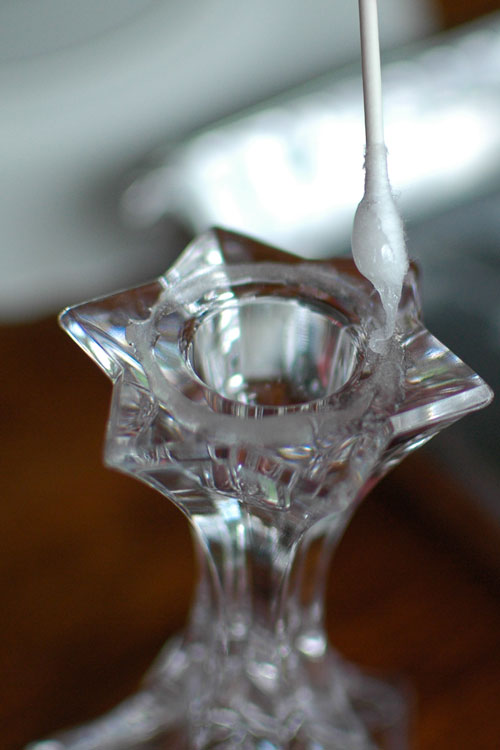
Dip Q-tip in epoxy and coat the rim of the candlestick.
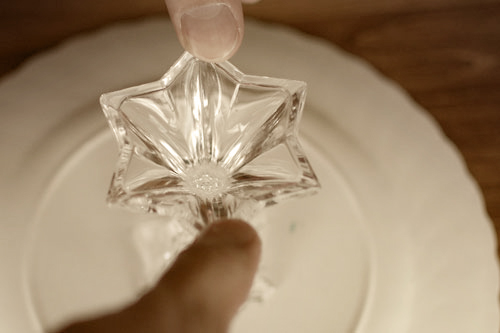
Adhere candlestick to back of plate using fingers to press it into place.
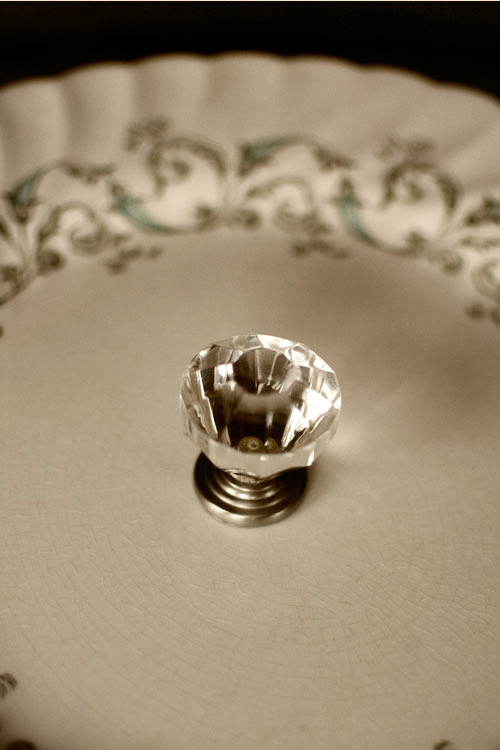
If you are adding a drawer pull to the other side of the plate, place a dab of epoxy glue on the drawer pull. Turn plate over and adhere to middle of plate.
Let dry for recommended drying time.
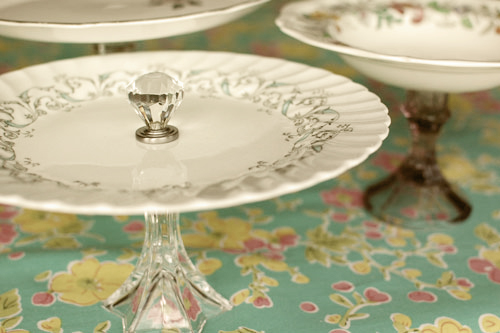
Enjoy your lovely vintage cake stands!! You can also make two tier cake stands using one small plate and one dinner plate. Just make sure the base is good and sturdy. You can use a vintage drinking glass or old fashioned, tulip shaped ice cream sundae dish for the base. The last thing you want is your goodies to topple over!


