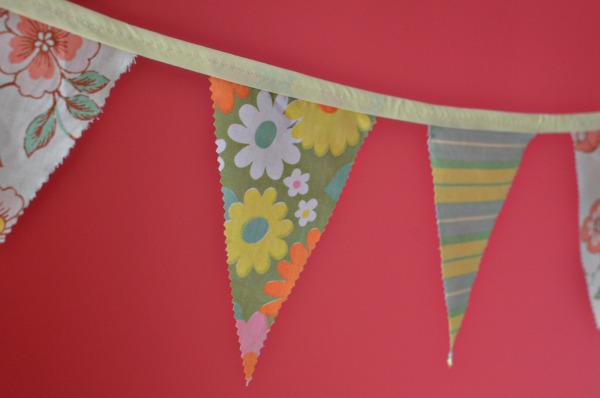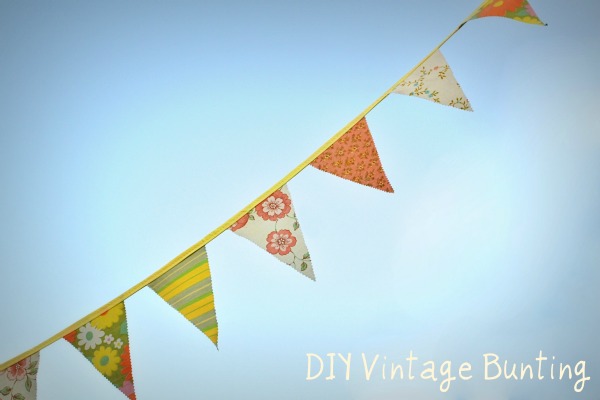
Looking for an awesome wedding bunting tutorial? Well, crafty ladies, you have come to the right place!
This wedding bunting is made from vintage sheets found at resale shops.
You can hang this from your dessert table, above your reception table or line your ceremony aisle. How you use your wedding bunting is only limited to you imagination!
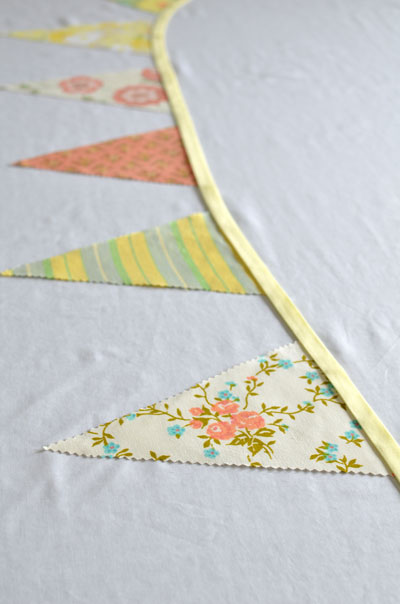
This wedding bunting measures nine feet end to end. It has twelve 5 “x 7” flags. There is one foot of bias tape on each end to use for tying the bunting.

Here is what you will need for your wedding bunting:
- vintage fabric
- Pinking Shears
- card stock to make your pattern
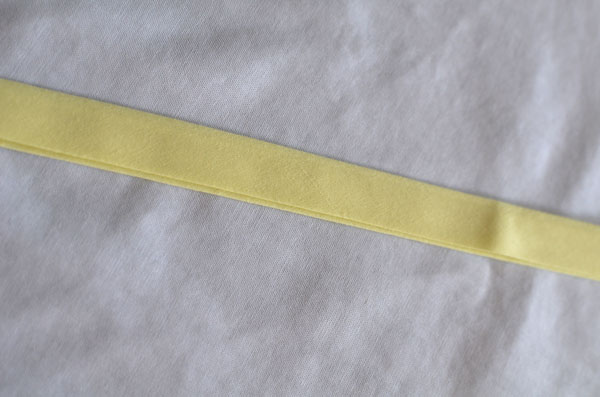
- 9 feet of double fold, extra wide bias tape
in color of your choice
- thread
- Sewing Machine
- iron
- Spray Starch
- pins
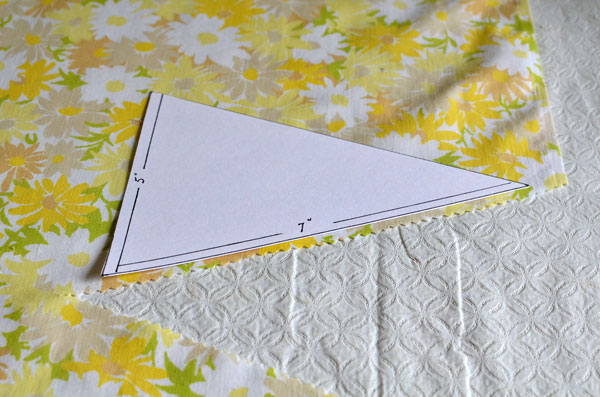
Make a 5″ x 7″ triangle with card stock like the one shown below. Place your template about an inch from the edge of your fabric. Trace template with fabric chalk.
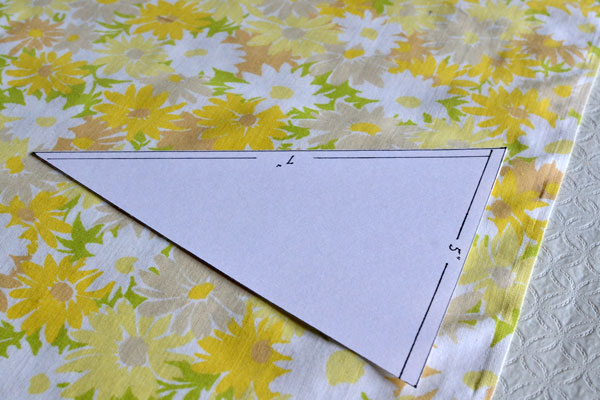
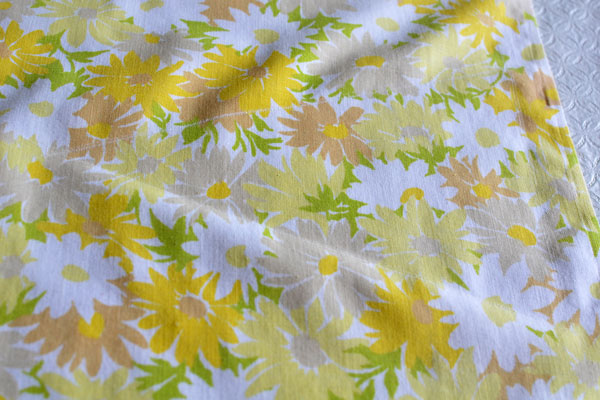
Use pinking shears to cut out the flag. Cut on the outside of the chalk line. Place pattern next to cut-out and repeat. Do the same on your other fabrics until you have 12 flags.
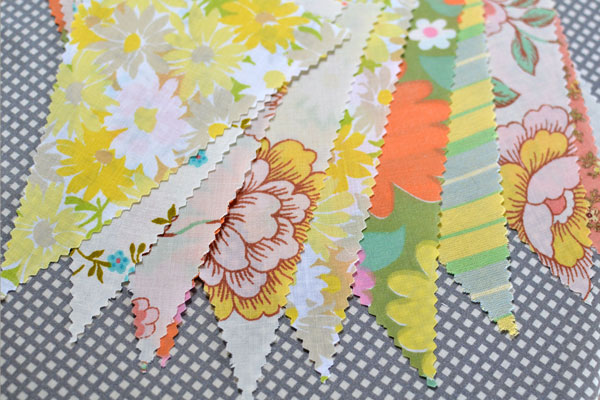
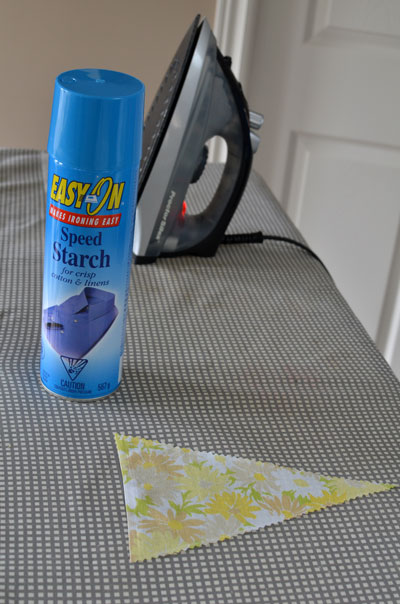
Iron flags. Use spray starch to stiffen the fabric.
Line flags up on a table in desire sequence.
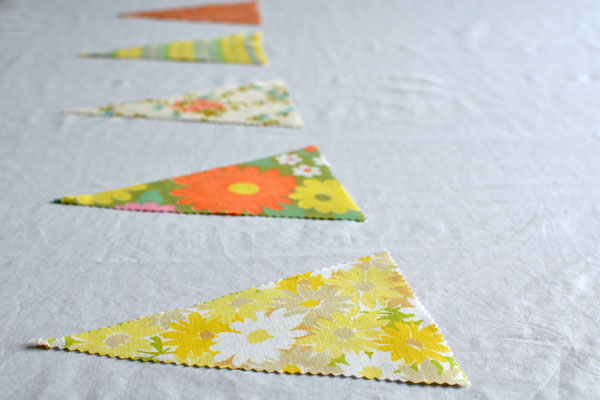
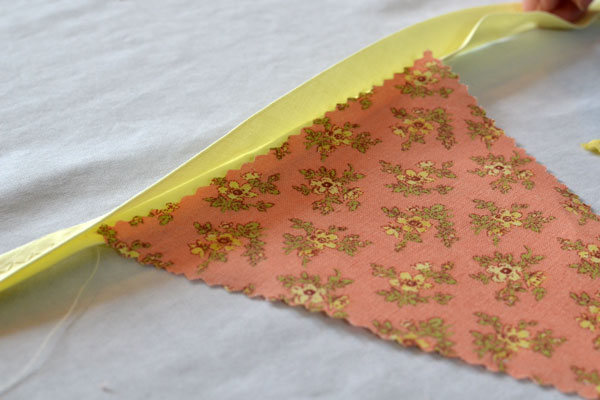
Tuck flags into bias tape, making sure that shorter edge of the bias tape is on top. Leave two inches between flags.
Pin flags to bias tape.
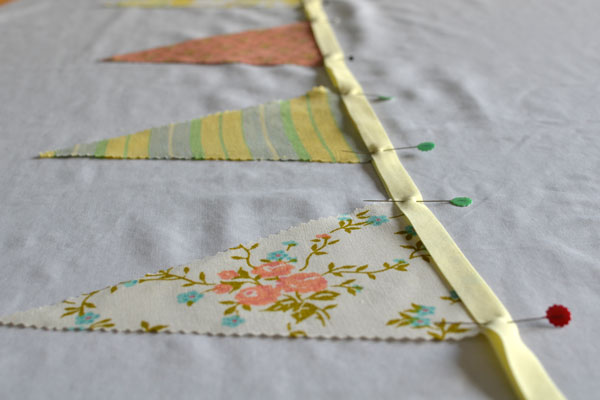
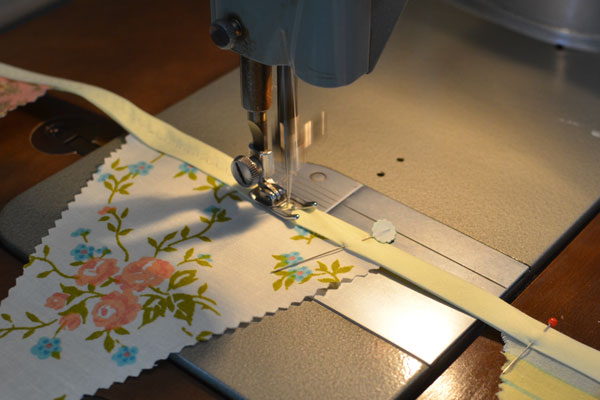
Fire up your sewing machine and sew flags to bias tape. We used a zigzag stitch to match with the edges of the flags.
There you have it! Your very own vintage wedding bunting!
