We planted 12 raspberry bushes this year. Next year, we plan to add at least 12 more. We’re crazy about raspberries in this household. They’re fabulous on cereal, in smoothies, and they make a wonderful syrup to drizzle on pancakes or custard.
But really, it’s all about the jam.
Our own berries aren’t ready yet, so we headed out a few days ago to a PYO raspberry patch with our two girls. We spent the morning getting scratched and poked (it was so worth it!) and ended up with 10 pints of lovely, sweet berries. All in the name of homemade raspberry jam.
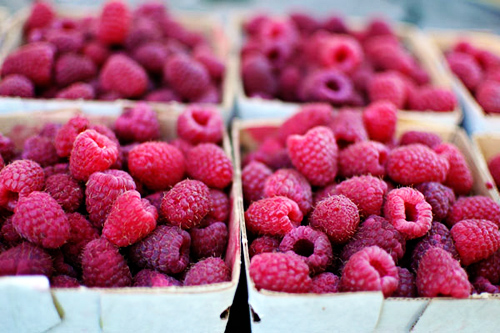
Here’s how we made the jam. The recipe has only TWO INGREDIENTS: berries and sugar.
As my five-year-old put it: “It’s music to your lips.”
If you decide to make the jam for your wedding favors, your guests will be ‘ooh la la’ing all the way home! Plus, it’s a fun weekend project that you and your sweetie can work on together.
Oooh La La! Homemade Raspberry Jam Recipe (I found this recipe over here and doubled it.)
8 cups of mashed raspberries
8 cups of sugar
Big Pot – jam just about doubles in volume near the end
This will make 11.5ish 250 ml jars of jam. If you are making these for wedding favors, you’ll probably want to use the 125 ml jars which will give you 23 jars of jam.
How to Make Raspberry Jam
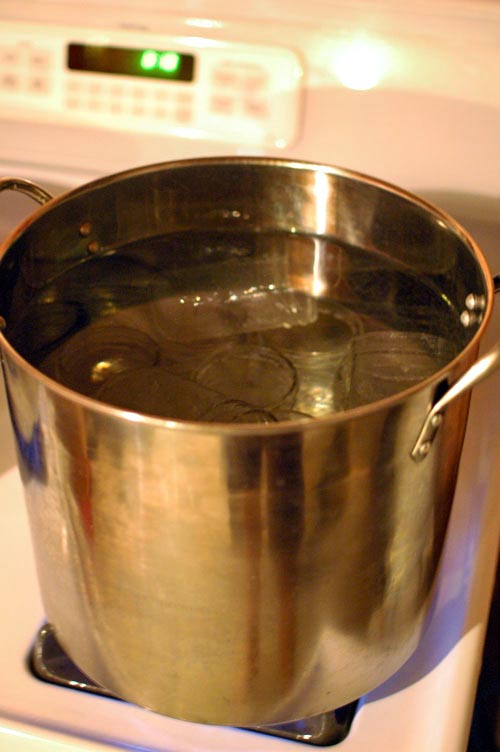
Sterilize your utensils, lids and jars. (I wrote about how to do this here.)
Wash the raspberries.
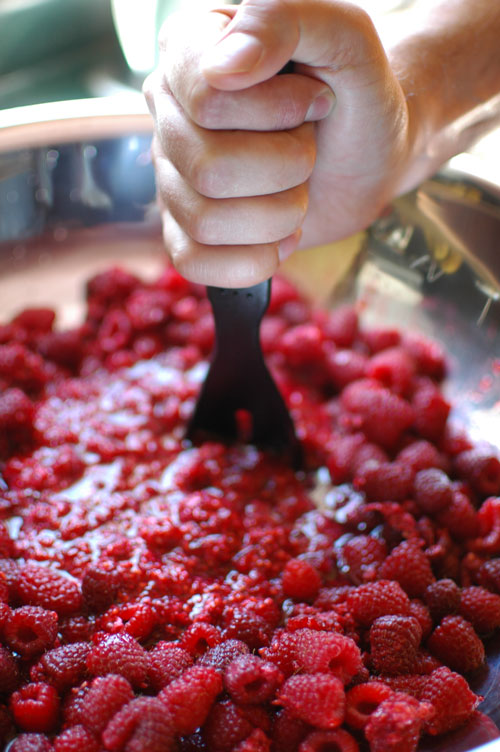
Mash raspberries. (My husband’s beautiful right hand 🙂 )
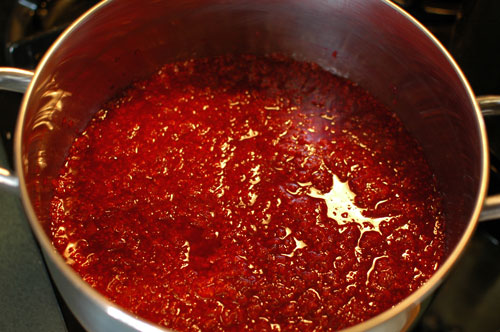
Place mashed raspberries in a large pot and bring to a rolling boil. Keep in mind that when the jam reaches a full rolling boil it will increase in volume. Boil for 2 minutes.
Add sugar.
Stir well.
Bring to a boil again, stirring constantly for two minutes.
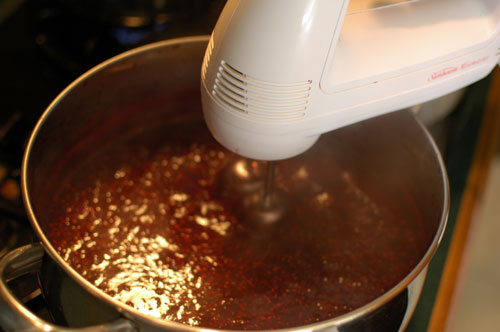
Remove from heat. Beat with a rotary beater for four minutes. I do not own a rotary beater, so I whipped out my handy Sunbeam handheld mixer. If you choose this option, reduce the mixing time and beware of piping hot jam splashes!
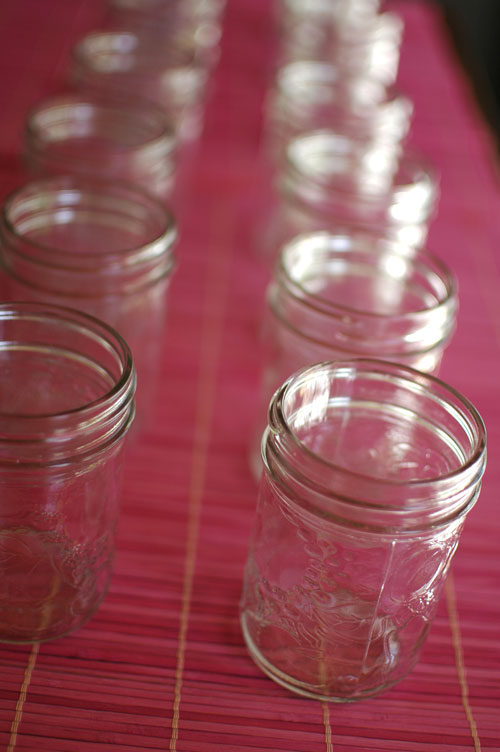
Set up the jars for the big pour.
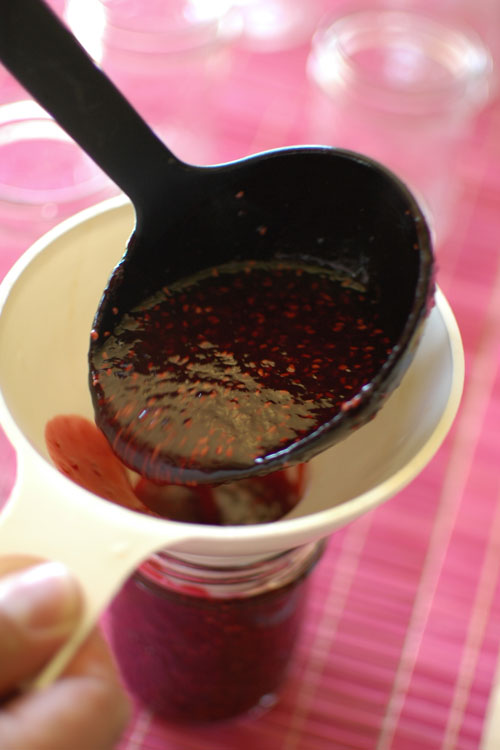
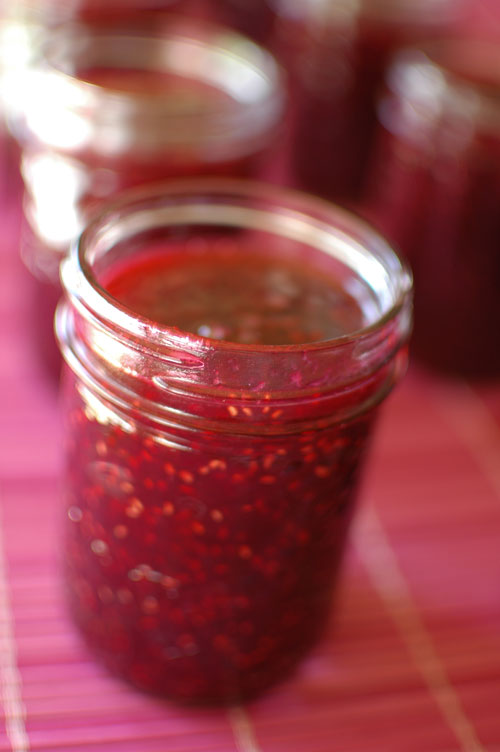
Place canning funnel into sterilized jar. Ladle jam into hot jar leaving proper ‘head space’, which is the space at the top of the jar between the underside of the lid and the top of the jam. For jam it’s about ¼ inch. Overfilling and underfilling can result in a jar that does not seal properly. (Try not to get jam on the rim. If you do, wipe with a paper towel.)
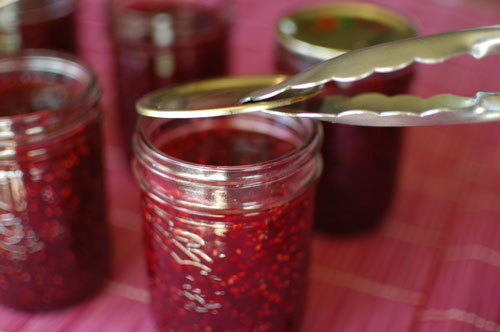
Place sterilized lid on jam using sterilized tongs.
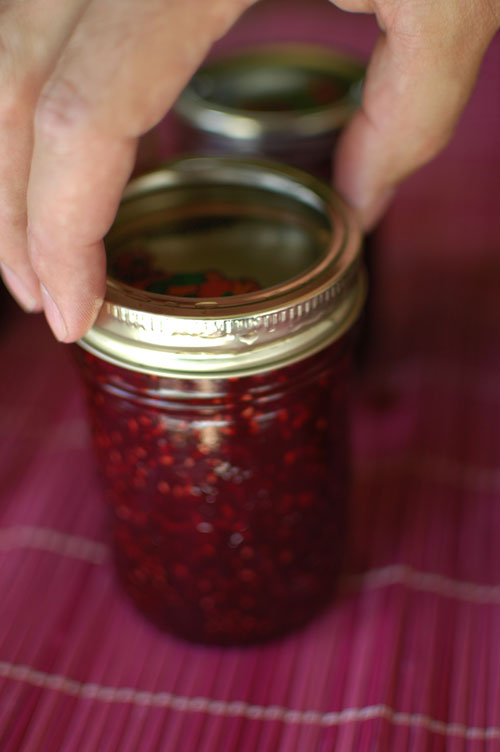
Screw lid on firmly (but not toooo firm). Place sealed jars into boiling water for 15 minutes. Be sure water covers jars by at least 1 inch (2.5 cm); add boiling water if required. Remove from water and listen for the ‘pop’ of the jar lids. (I swear, that ‘pop’ is music to my ears!) This means they are sealed. As one canner put it, the popping sound signifies the jam ’sealing itself off to the outside world.’ Sometimes it can take several minutes for the popping sound. Check jar seals by pressing on centre of each lid. If the lid center is pulled down and does not move its got a good seal. If you’ve waited a few hours and the seal hasn’t popped, place jar in refrigerator.
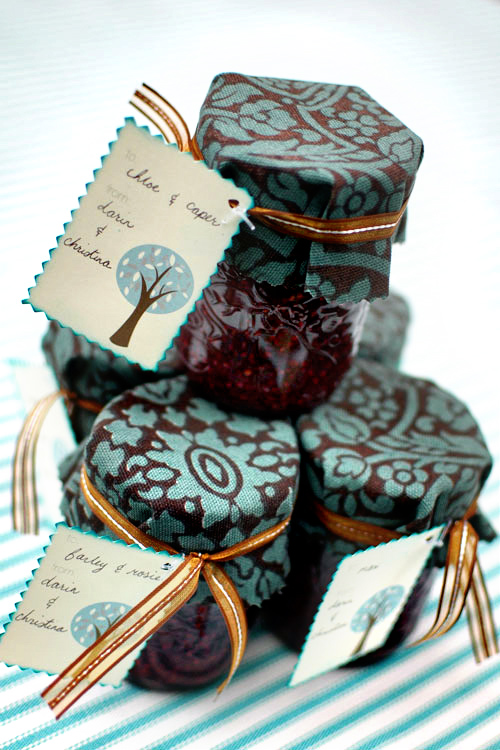
If you are giving these as gifts or wedding favors, here’s how to wrap your raspberry jam.
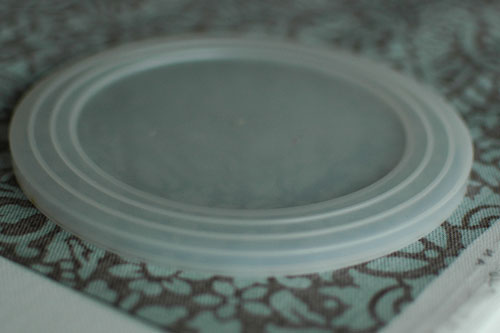
Find a piece of fabric that you like. I found my fabric in the remnant section of Fabricland. It was dirt cheap. Turn the fabric over and trace a circle onto the fabric. I used a six inch lid to trace the circle.
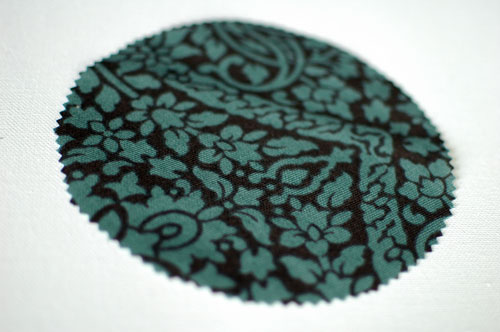
Use pinking shears and cut out the piece of fabric. Place fabric over the jar and use an elastic to hold it in place. Tie a ribbon around the jar. Remove elastic.
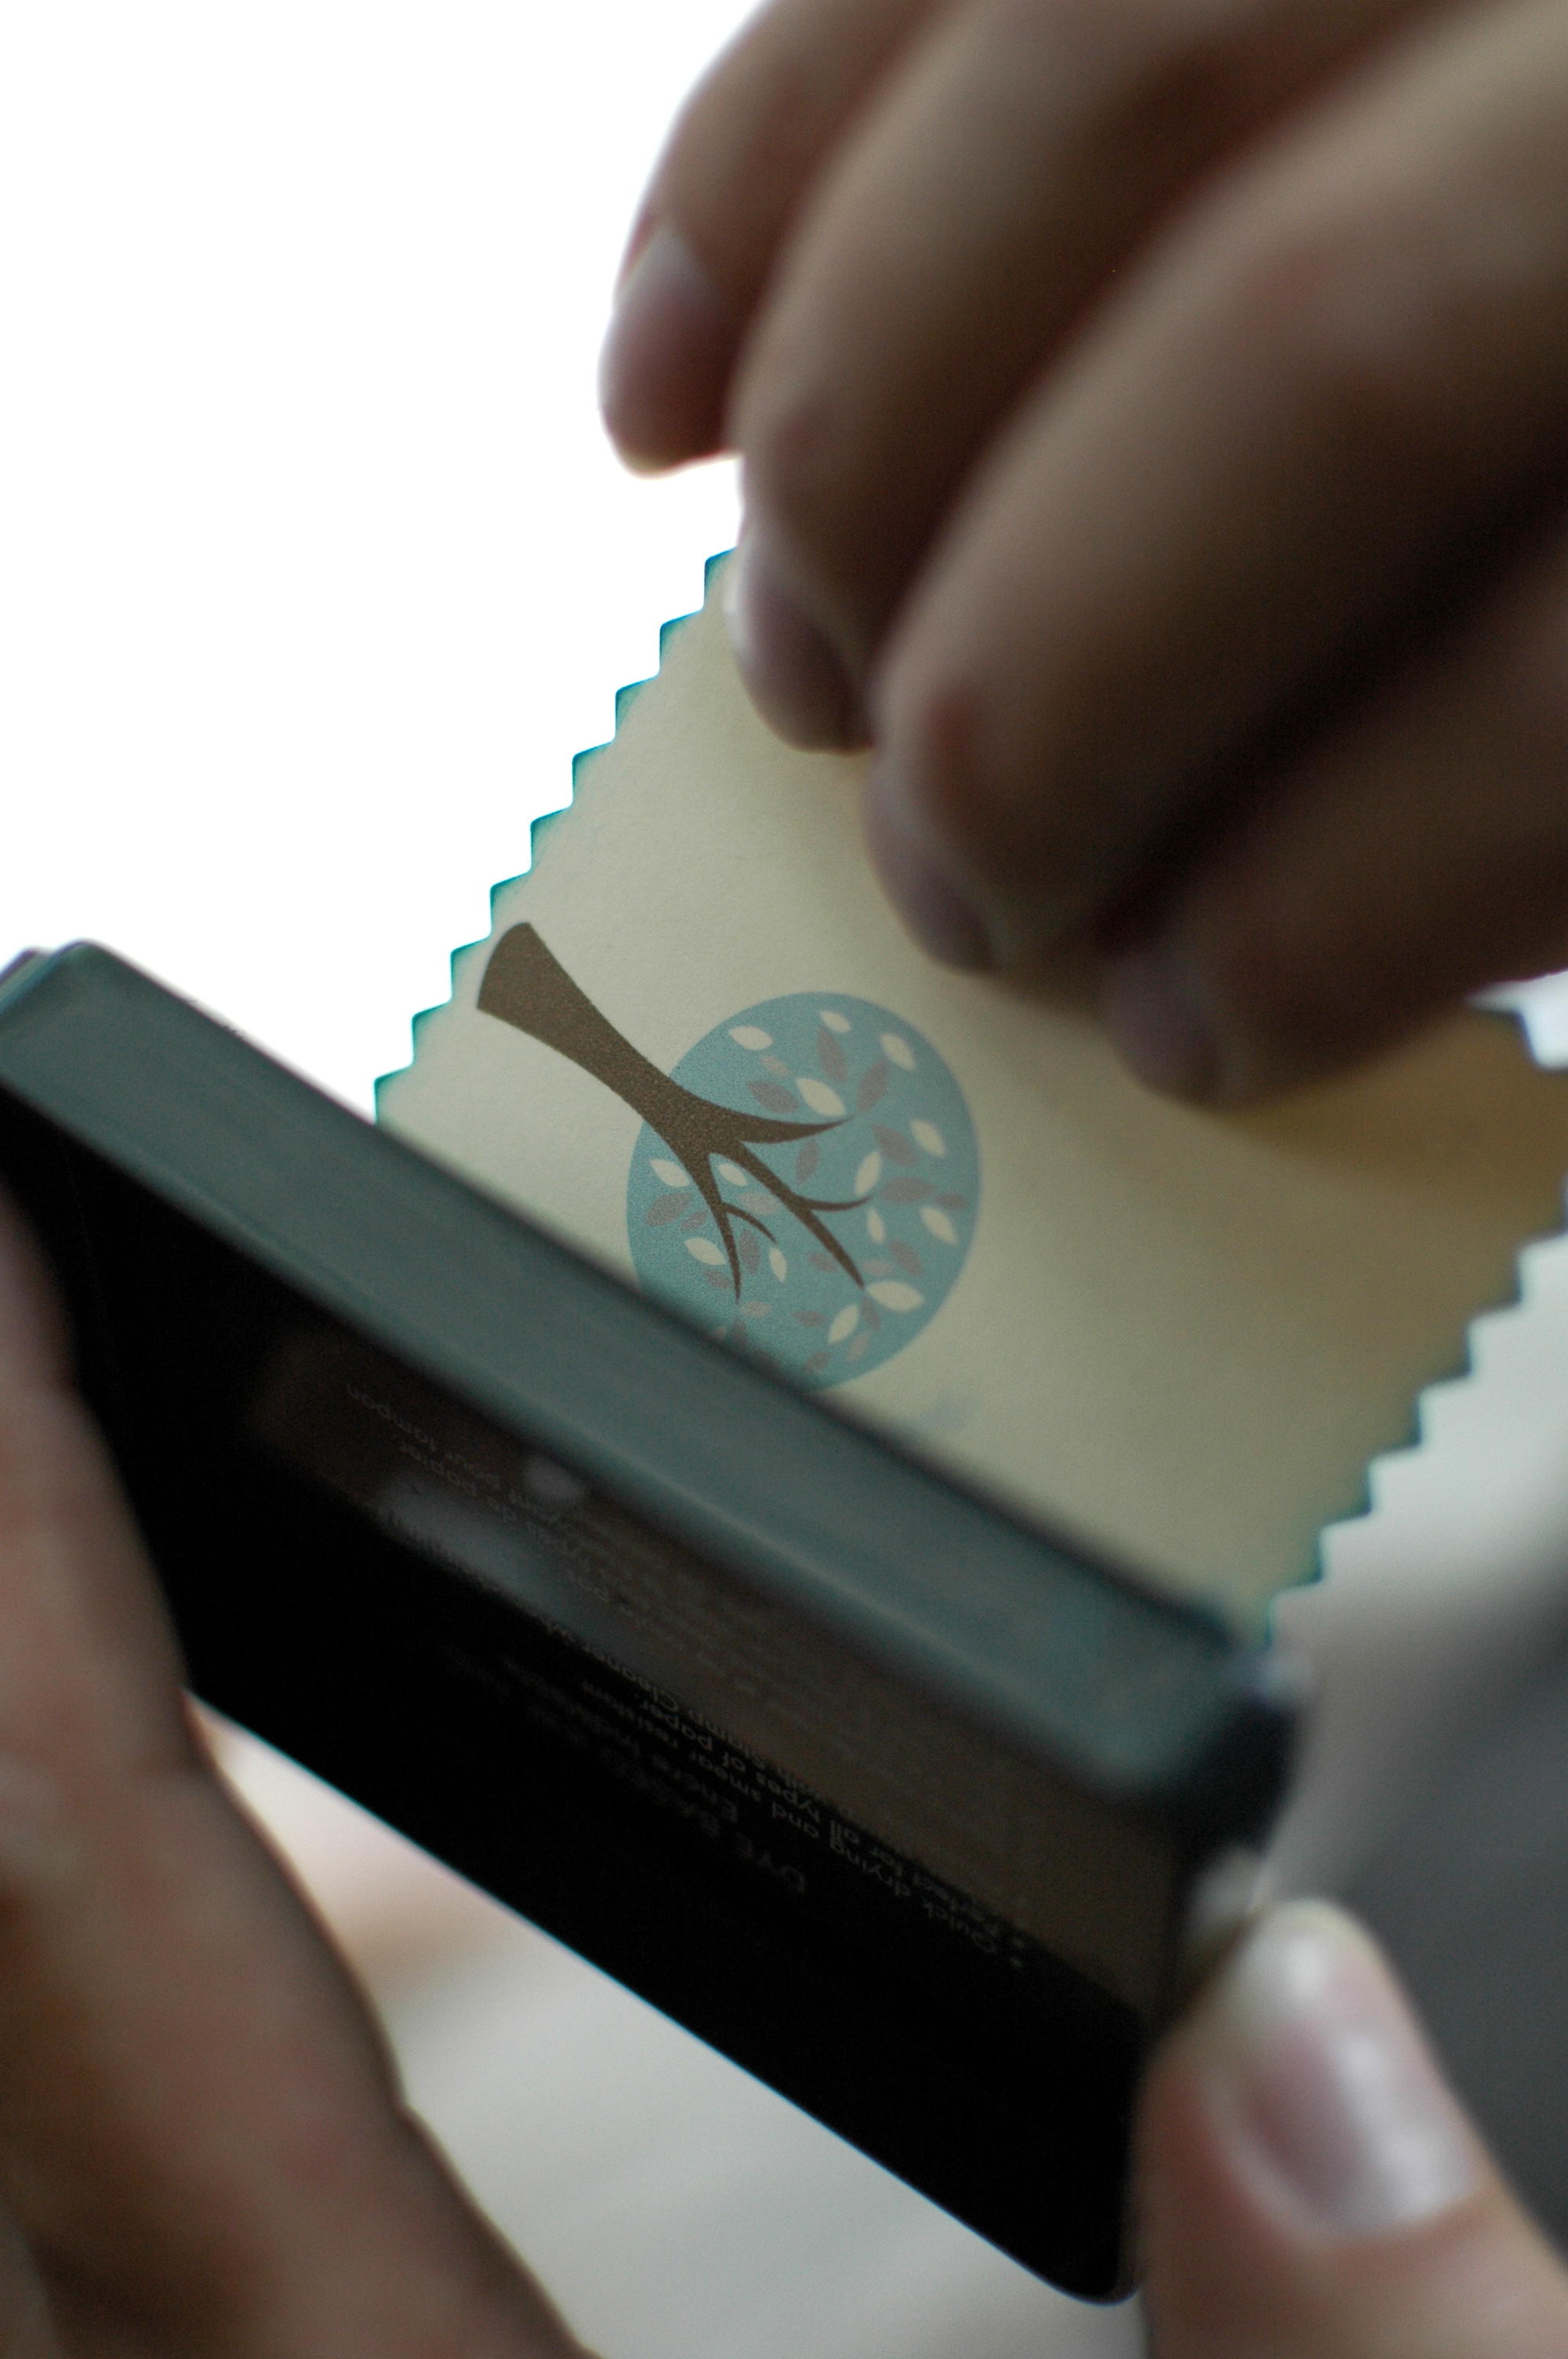
I found these lovely tree tags over at Fog and Thistle . And they’re free!! Simply print and cut (I used pinking shears). I inked the edges of mine using an ink pad.
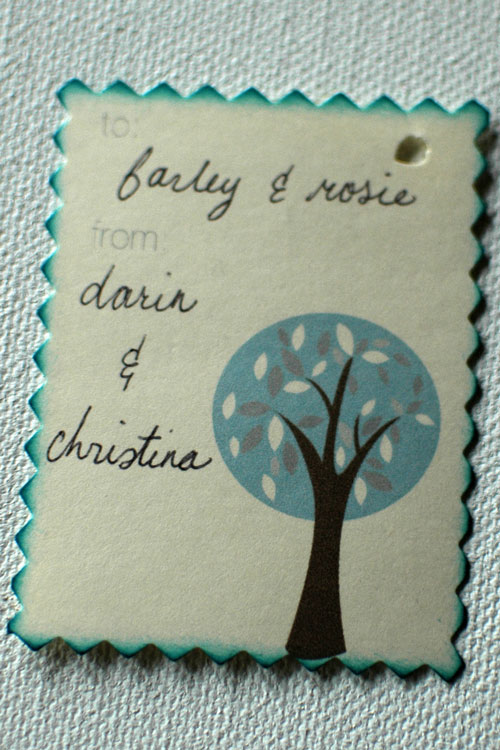
I used clear, stretch jewelry cord to attach the tags. Presto! You have a lovely gift.
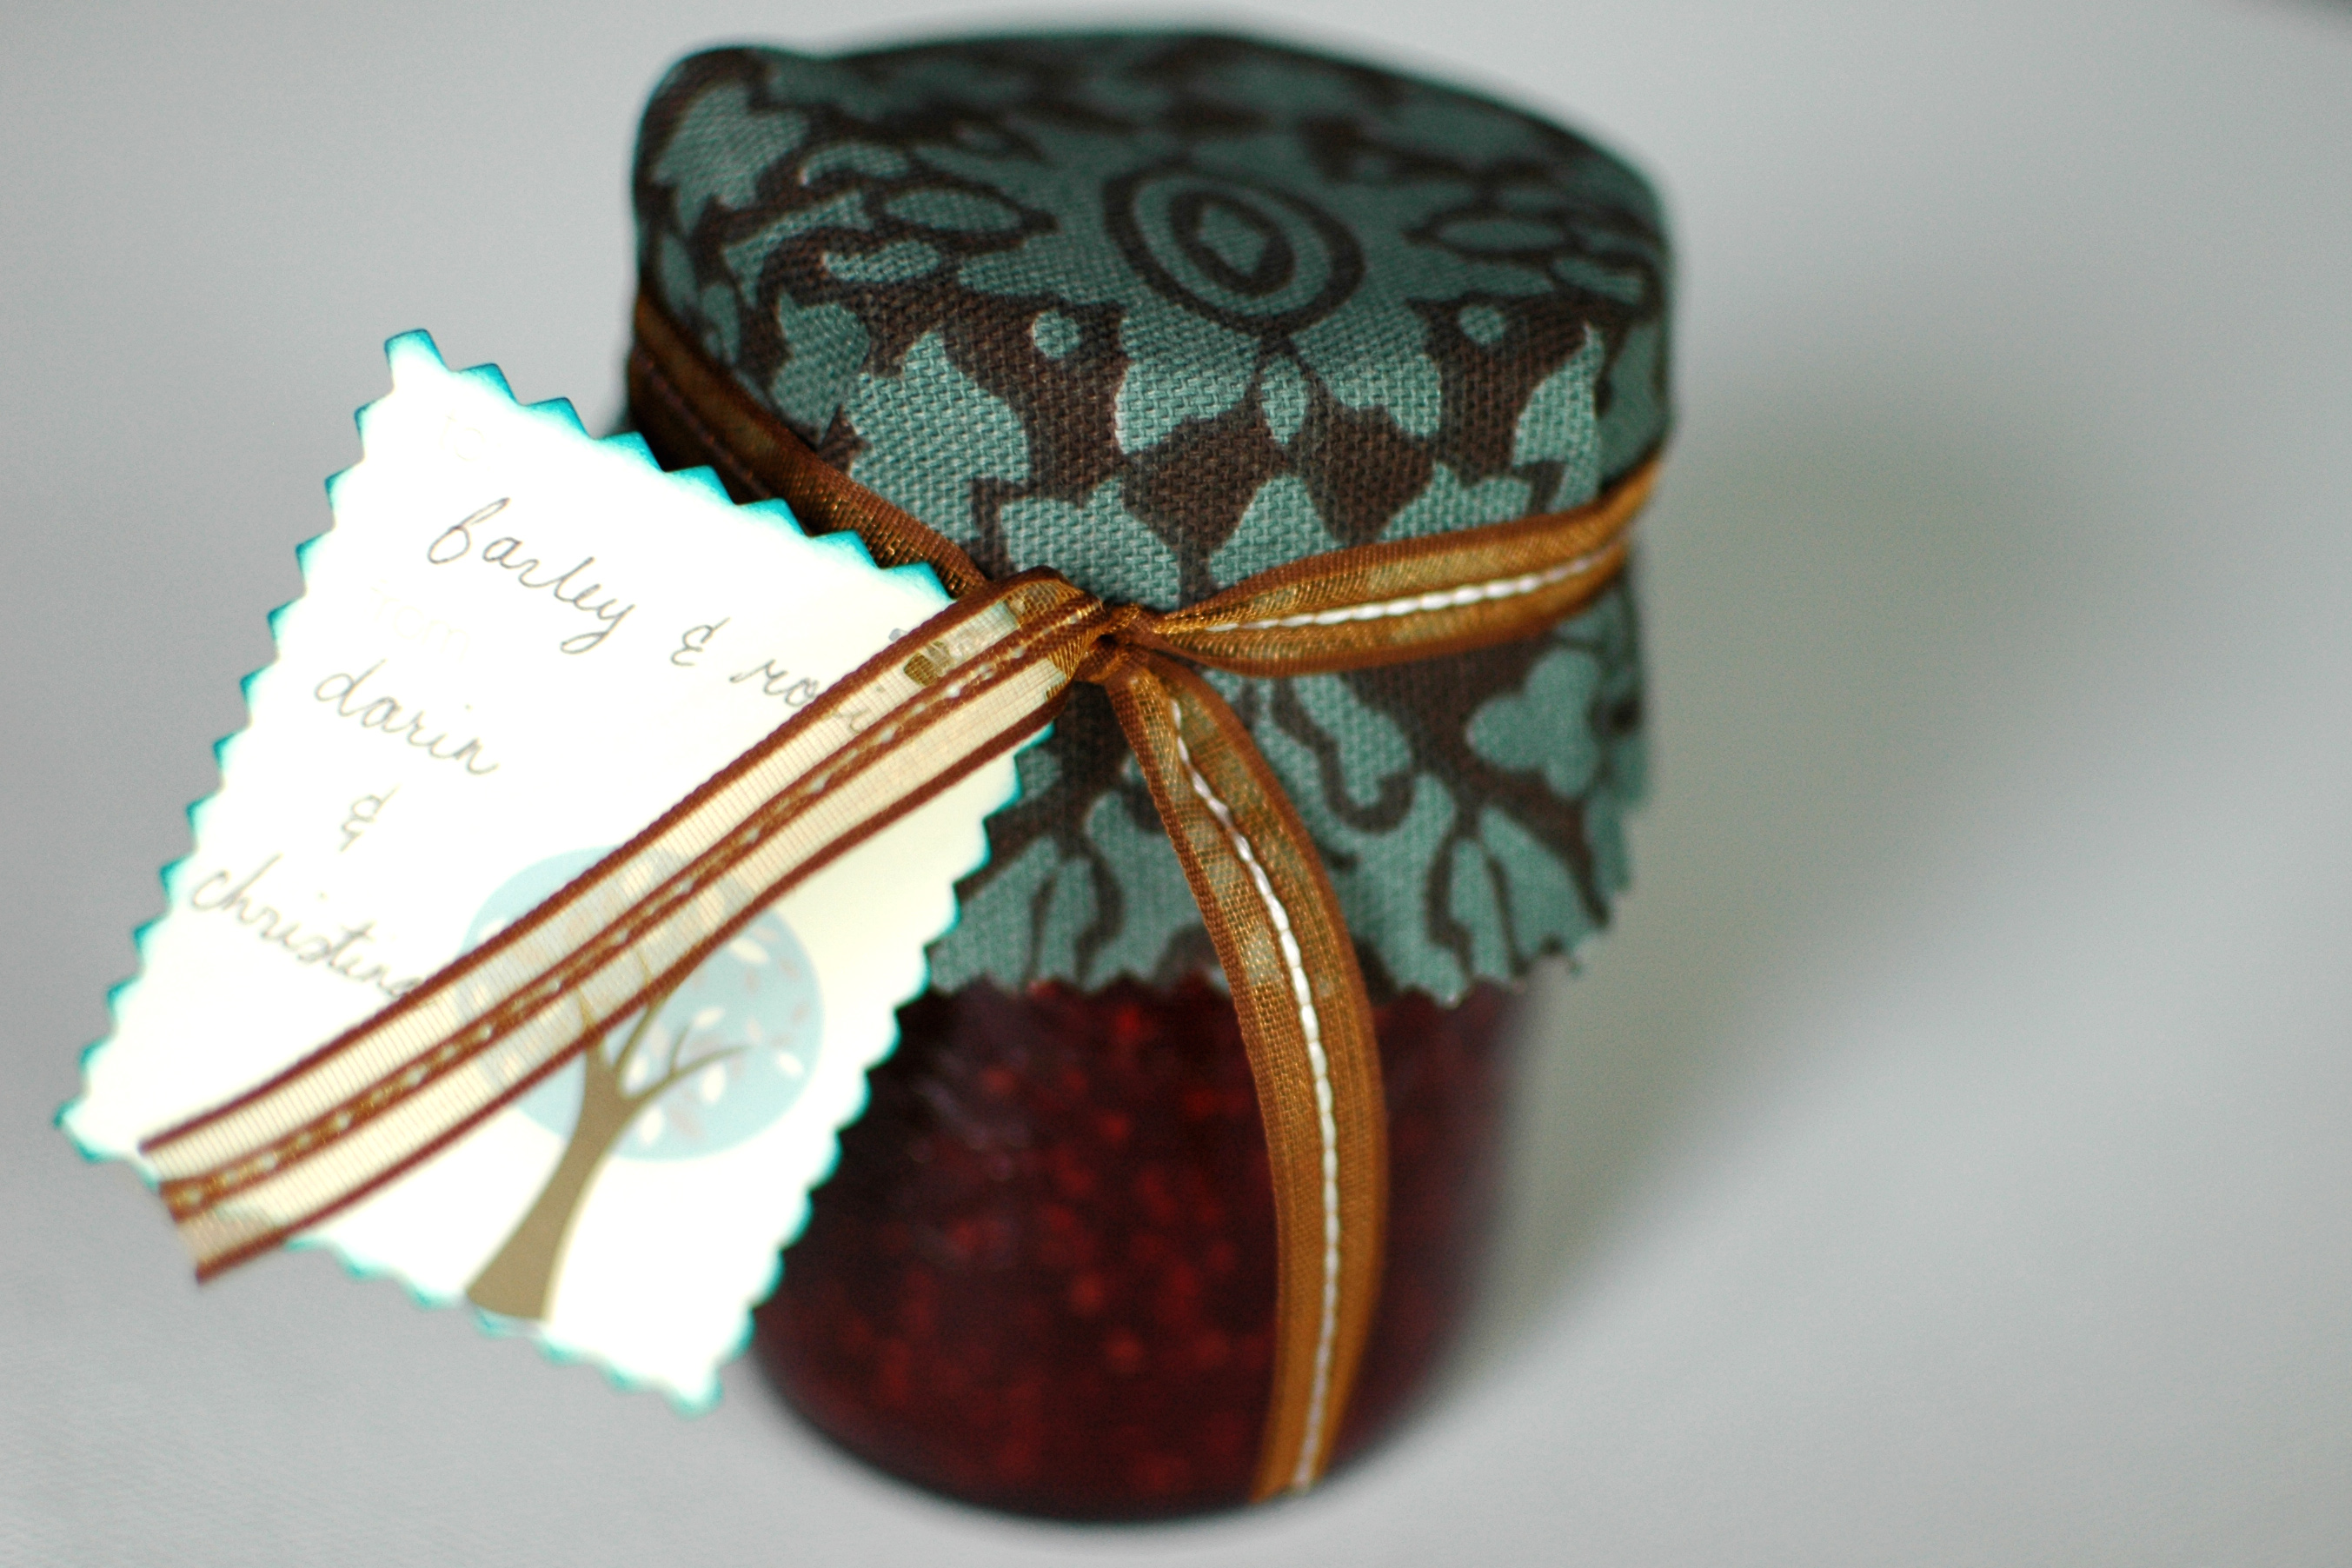
The jam will keep for up to a year, but I promise you it will be gone long before then.


