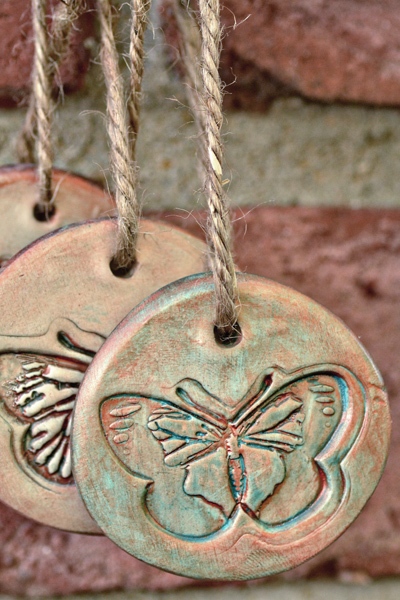
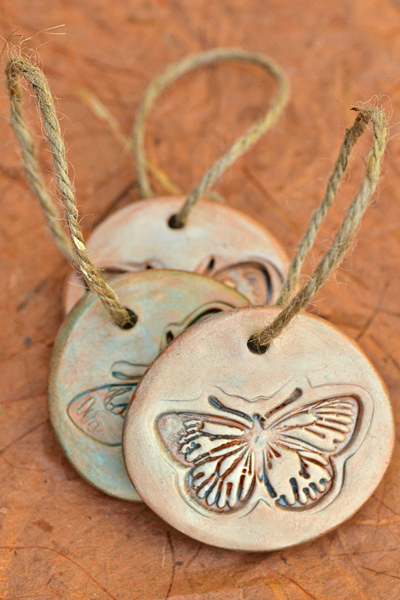
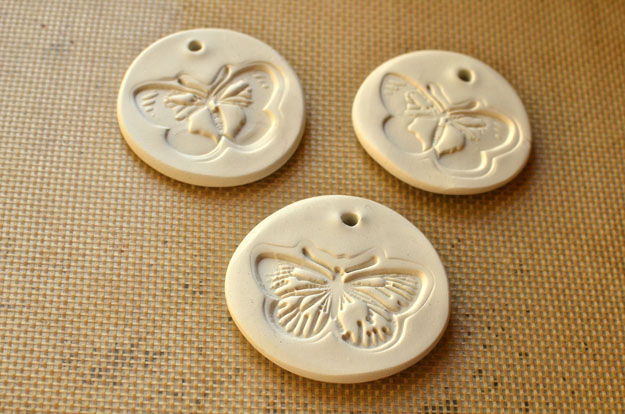
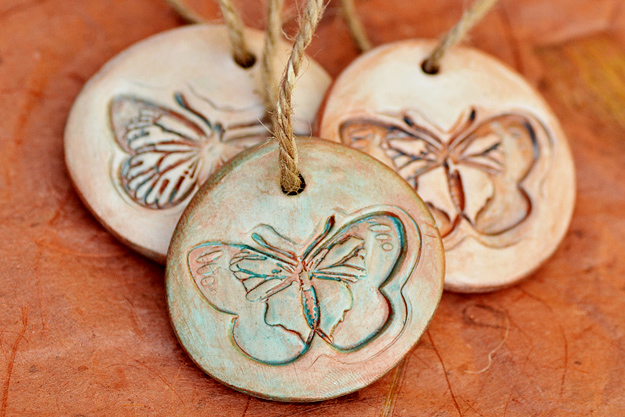
Want to dress up your wedding favors? Attach of of these pretty handmade tags made from oven-bake clay.
This is my second DIY wedding project made with oven-bake clay (my last project was a ring bowl), and I’ve come to the conclusion that every crafty bride should have it in her arsenal of DIY materials. Oven-bake clay is incredibly versatile and easy to work with – and the results are fantastic. You don’t need a kiln – just your oven (if you’re worried about the clay stinking up your kitchen as it bakes, you’ll be happy to know that it has no smell!) and small projects like this bake in only half an hour.
I used Martha Stewart Crafts Clear Butterfly Stamps for this project. You could you use any type of stamp that you like.
Here’s how to make the DIY favor tags.
You will need:
- 795 gram package of White Oven Bake Clay
(I used Sculpey
brand. You will have some left over for other projects.)
- Martha Stewart Crafts Clear Butterfly Stamps
- Acrylic Paint in Payne’s Grey, Turquoise, Silver, Copper
- Non-toxic Matte Varnish
- Jute
- Chopstick or bamboo stick for poking holes at top of bowl
- rolling pin
- baking sheet
Preheat oven to 275 degrees.
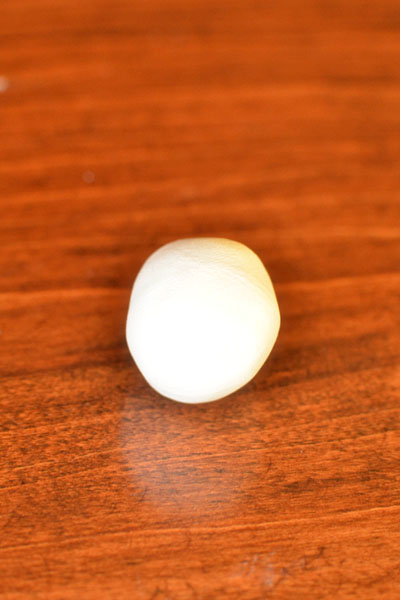
Roll a smallish piece of Sculpey Clay into a ball.
Use a rolling pin to roll out the clay to 3/8 – 1/4 inch thickness.
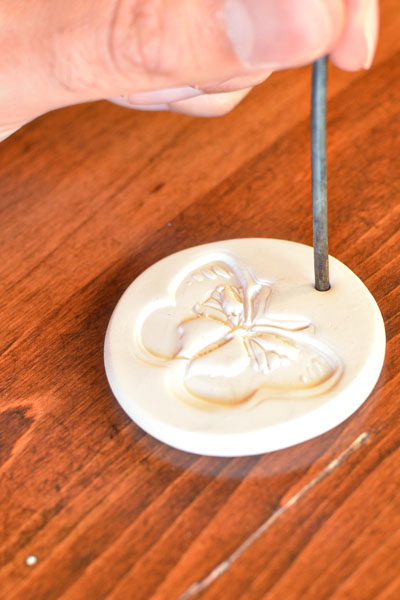
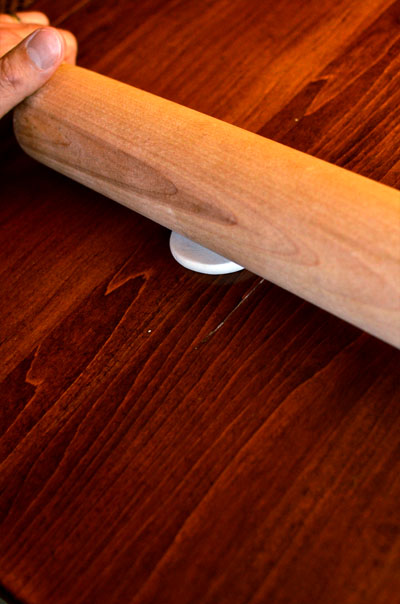 Press stamp into the flat piece of clay.
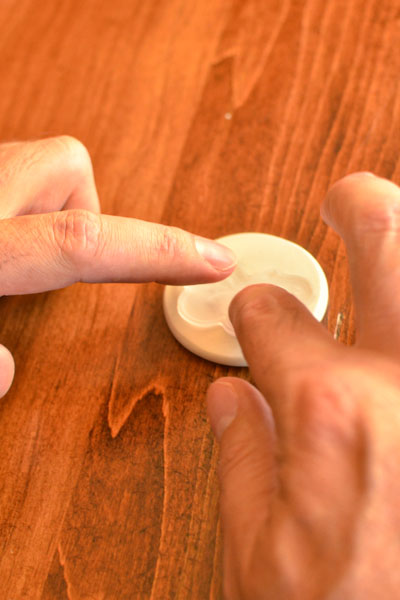 Remove stamp. Make a hole at the top of the clay.
Place tags on a baking sheet (I used Silpat on my baking sheet.)
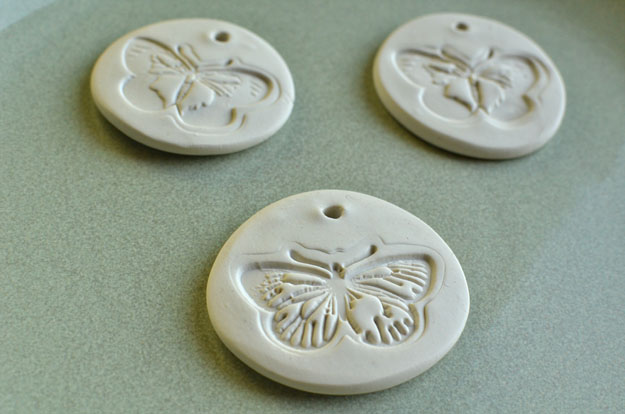
Bake for 30 minutes. Remove from oven and let cool.
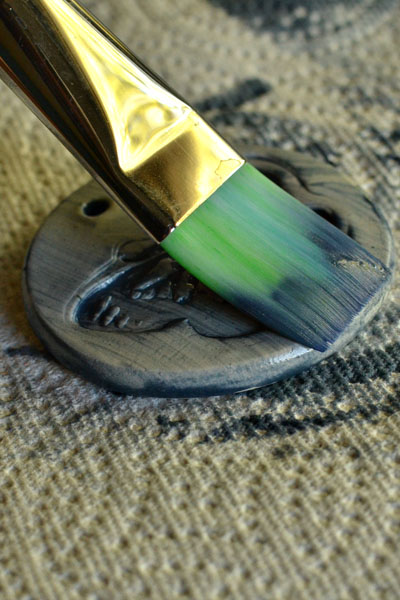
Cover front of tag with watered down Payne’s Grey acrylic paint.
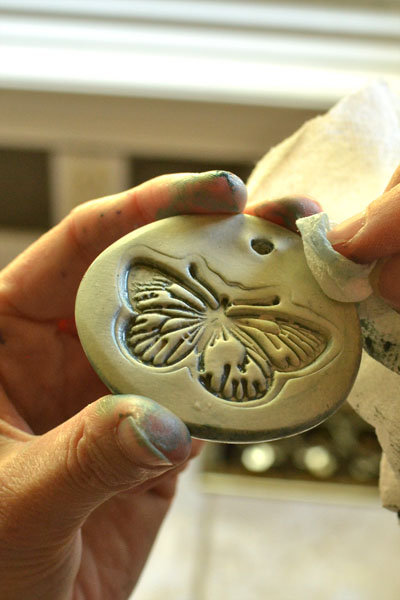
Use a paper towel to wipe away some of the paint.
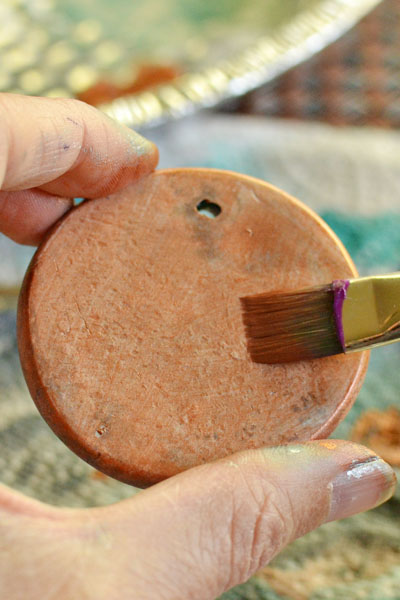
If you want the tag to look like copper patina, add a wash of greenish turquoise acrylic paint mixed with silver paint and wipe some of it way with a paper towel. Paint tag with copper acrylic paint.
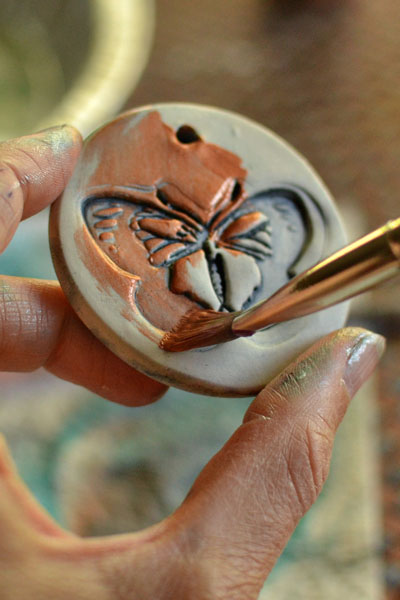 Use paper towel to wipe away some of the copper paint. Paint the edges with copper paint.
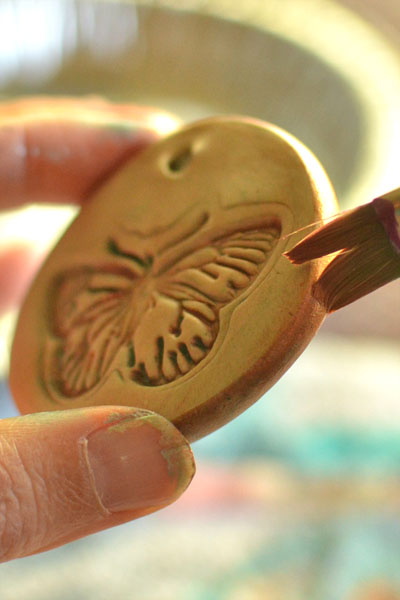 Let dry. Repeat process on back of tag.
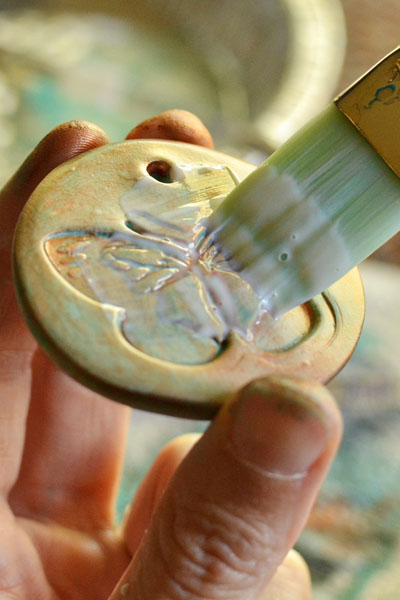
Once the paint has dried, apply a layer of matte water-based varnish.
Let dry. Add jute. Fini!


