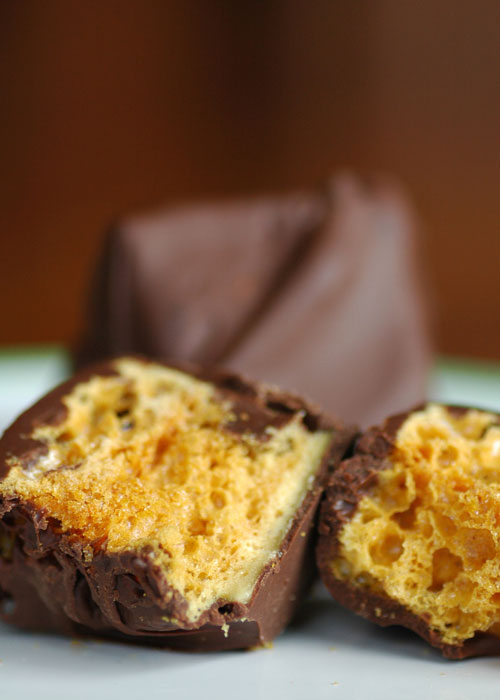
Me and my sweet tooth! This time I’m offering up a killer sponge candy recipe that you can use for making your wedding favors! If you want to get really decadent, dip the sponge candy in chocolate. If you make this, please let me know how it turned out! I love to hear feedback from my readers.
BTW, in Canada we call it sponge toffee; in England it’s called cinder toffee; in Australia they call it honeycomb and in California it’s called sea foam. No matter what you call it, it’s yummy!
Please note: Although this is easy to make, it’s imperative to use an accurate candy thermometer. One of our batches was overdone because our cheapo candy thermometer wasn’t accurate. (We found this out after the fact by using the method for testing your candy thermomter found on this site.)
Sponge Candy Recipe and Tutorial (adapted from Christine Cushing’s Sponge Toffee Recipe)
Ingredients
Vegetable oil for greasing pan
2 1/2 cups granulated sugar
2/3 cup light corn syrup
6 tablespoons water
2 tablespoons baking soda
2 teaspoons vanilla
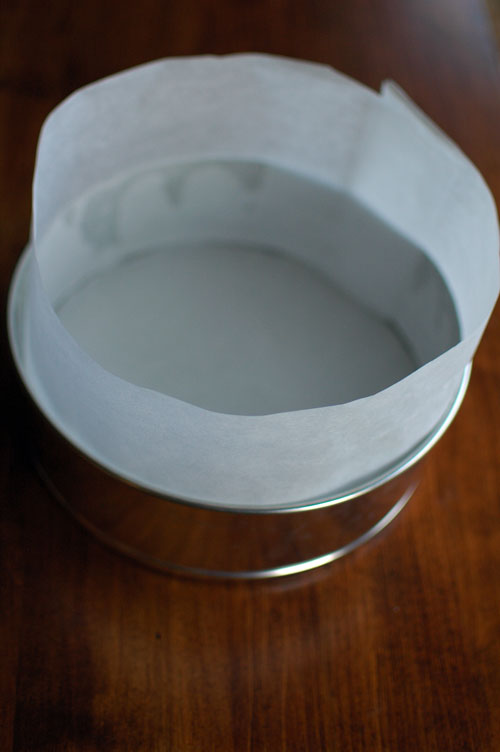
Liberally grease a 10-inch round spring form cake pan with vegetable oil. Trace the bottom of the pan on a piece of parchment paper. Line the bottom of the pan with the parchment paper circle. Line the sides of the pan with a parchment paper so that the parchment paper creates a collar that sits 1 to 2-inches above the pan. Liberally grease the parchment paper.
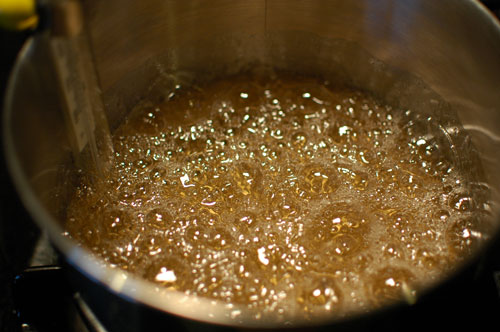
In a deep medium saucepan add sugar, corn syrup, water, and vanilla. Over medium-high heat bring the mixture to a boil (without stirring) and cook until hard crack stage, i.e. until temperature reads 300 degrees F. on a candy thermometer. This should take about 10 minutes. If sugar crystals form on the sides of the pan during the cooking process, brush the sides of the pan with a clean pastry brush dipped in water.
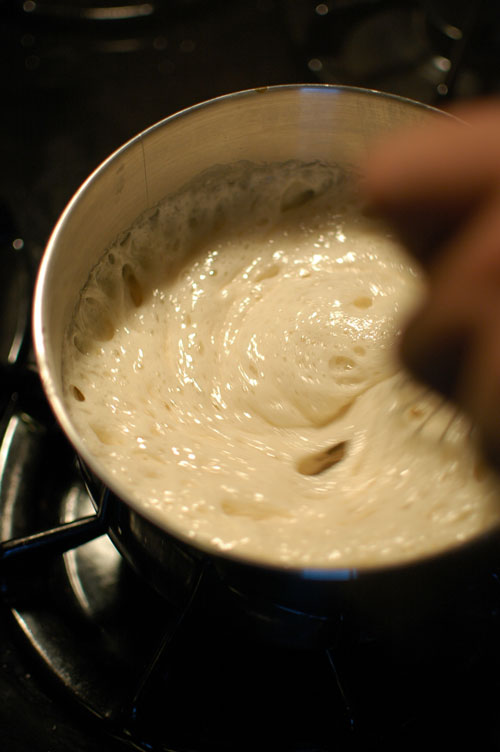
Remove from heat. Working quickly, add the baking soda and quickly blend to incorporate the soda into the sugar mixture, about 5 seconds. As you can see in the photo, the mixture will bubble up when you add the baking soda. Be very careful not to touch the hot mixture.
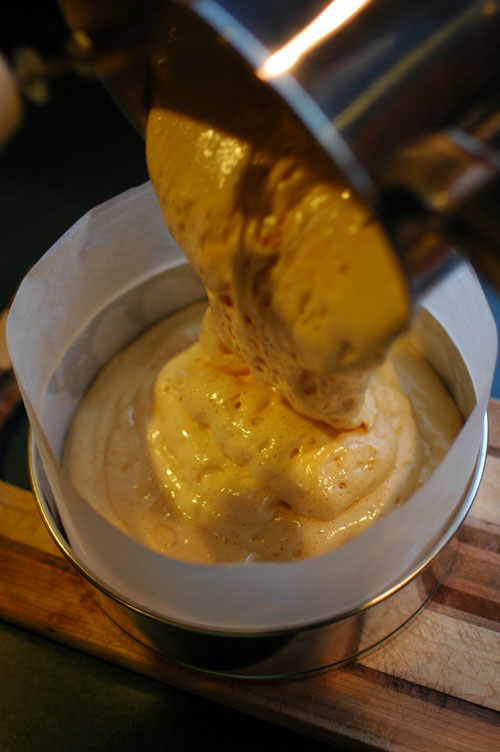
Immediately pour the hot toffee into the prepared pan.
Let cool and set completely before touching.
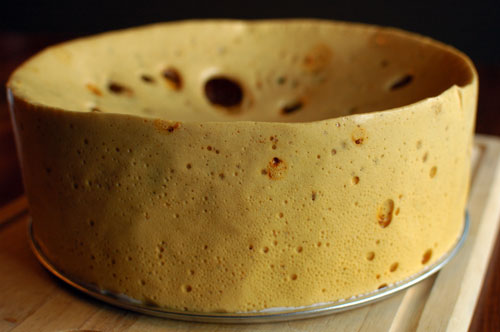
Cut into pieces. As you can see, it makes a huge mess. But the messy little crumbs can be saved for your ice cream!
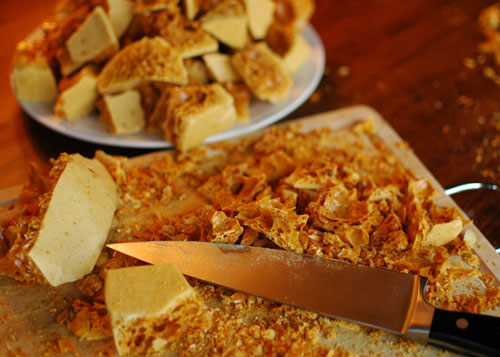
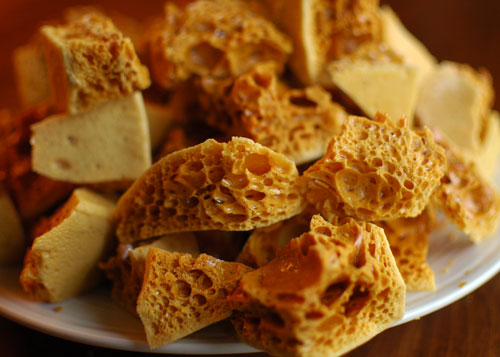
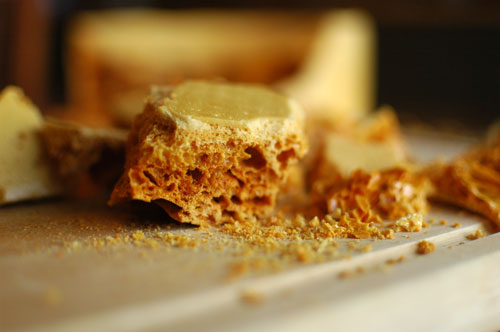
You can stop right here and store the sponge candy in airtight containers until your wedding day (obviously, you’re not going to be making this stuff months ahead.) But if you are a chocolate fiend like me, you’ll take it one step further and grab that bag of semi-sweet Chipits in your fridge.
I melted my chocolate chips in the microwave. The key to microwaving chocolate is to do it slow. Very slow. Did I say slow? Otherwise you will muck it up badly like I did the first time. If you need some tips on melting chocolate chips in the microwave, go to this site.
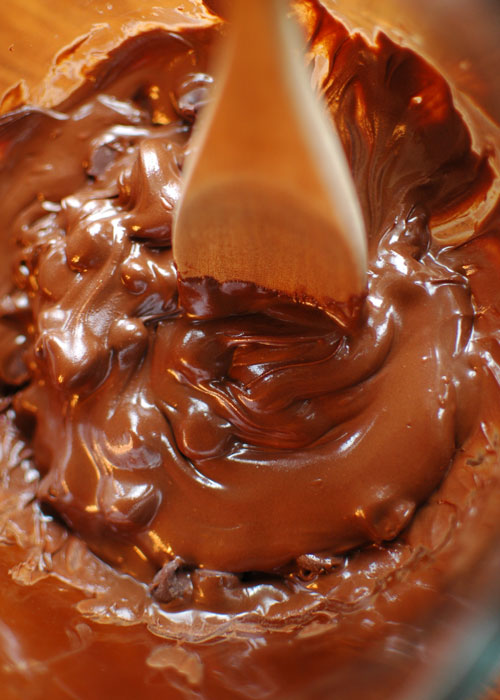
The next time that I melt chocolate chips, I will try the stovetop method. For this method, you simply bring a saucepan of water to a simmer and place a stainless steel bowl over the saucepan, making sure that the water does not touch the bowl. Once the chocolate melts, just add more chips until they are all melted, then dip your sponge candy.
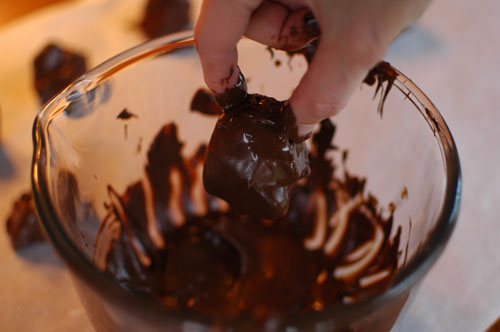
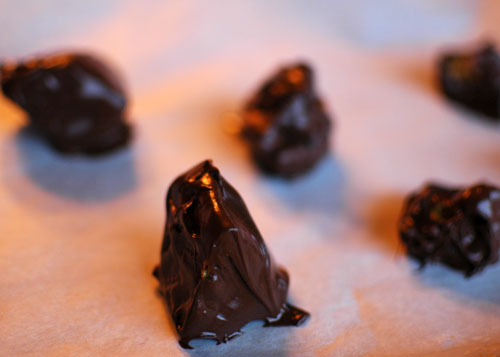
Once the chocolate is melted, simply dip the sponge candy into the chocolate. I tried using tongs, but it didn’t work for me so I used my fingers. Messy, messy, messy. After dipping, lay chocolates on parchment paper to harden. Store in airtight containers. If you are making these as wedding favors, simply pop into cello bags or tins. Your guests will be raving about your homemade chocolate sponge candy!
