Do you swoon over stationery hand-written in gorgeous calligraphy? Do you drool over the elegant loops and lines only to plummet back into reality knowing that you just can’t afford it for your wedding stationery?
I’m here to tell you that you don’t have to give up on that fancy lettering! You can do your own calligraphy even if you are a complete novice! And you don’t have to enroll of months of courses either. The trick?
I bought a Porta-trace several years ago for photography purposes. Since then I’ve used it for oodles of craft projects and just recently I realized its magic in creating calligraphy.
Now, I do realize that calligraphy is an art form that takes many moons to perfect, and good calligraphers are worth every penny; their talent will not be matched by an amateur at a tracing table.
That said, you can create some pretty exceptional results using this method. It really is the next best thing to hiring a pro – and perfect for couples on a budget.
*Note: This will not work on heavy card stock. The paper has to be thin enough so that the light can shine through it.
DIY Calligraphy for Cheaters Tutorial
You will need:
Envelopes
Printer
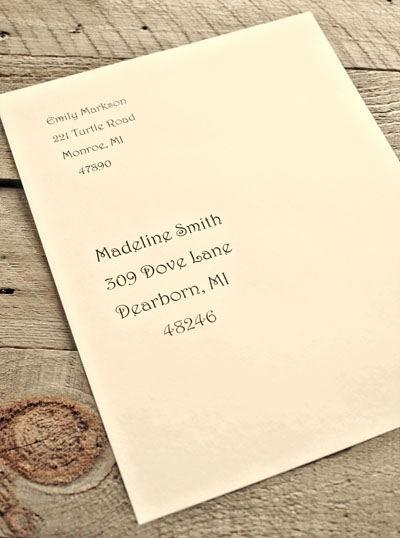
Find a font that you like; I chose Harrington for this tutorial. Type your guest’s name and address and also your return address. Size the addresses. (I used 24pt for the return address and 32pt for the guest’s address). Print out the addresses.
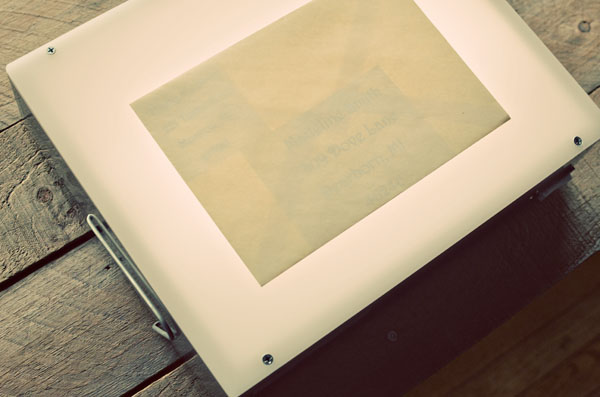
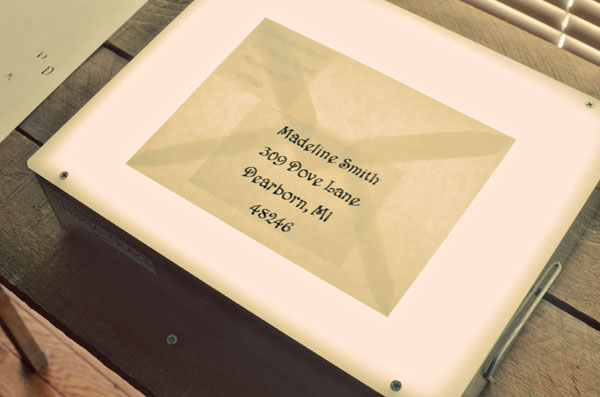
Cut out the addresses and fit them inside your envelope. Place on tracing table.
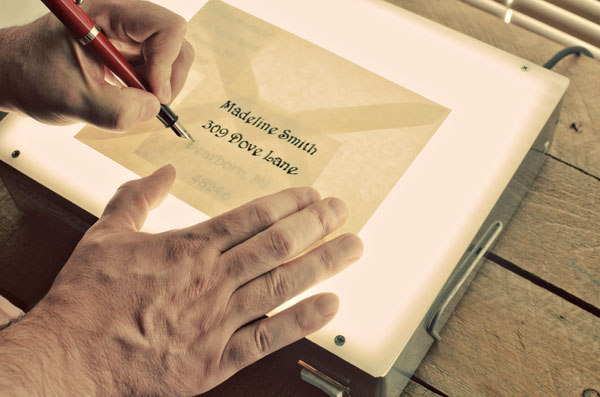
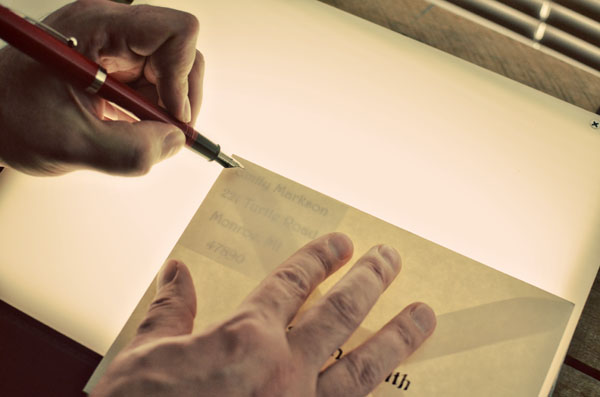
Grab your calligraphy pen and start tracing the guest’s name and addy. The more you practice, the easier it will get. (Buy some extra envelopes for goof-ups.)
Do the same with the return address.
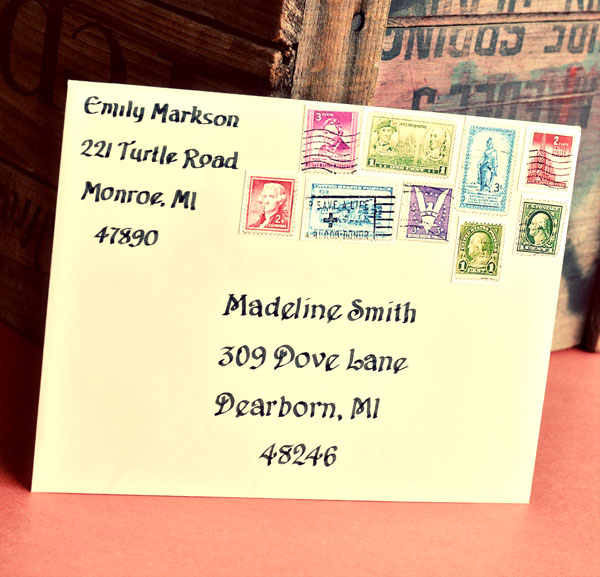
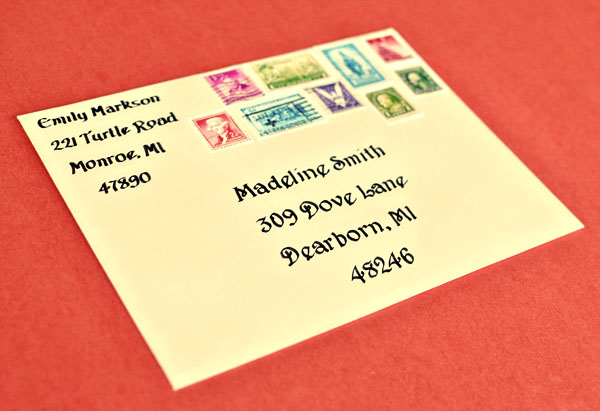
Now slip your invite or card inside the envelope and indulge in some pretty vintage stamps. Fini! Pretty fancy, don’t you think?


