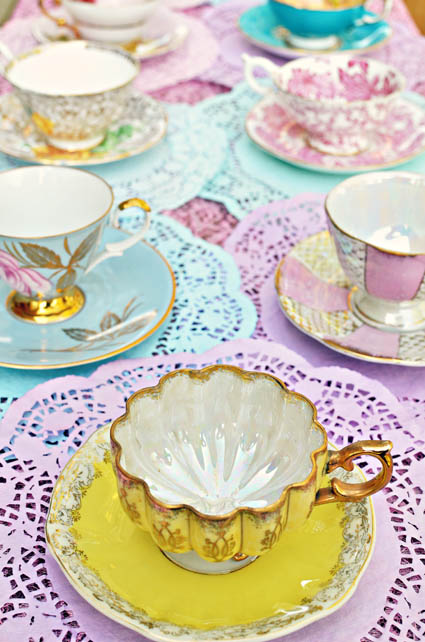
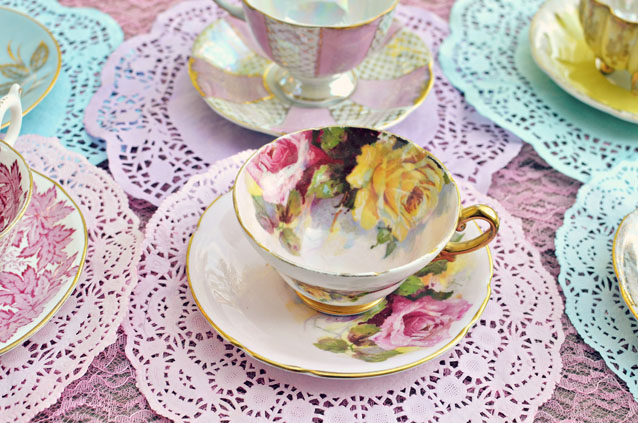
When it comes to weddings, doilies have a long history. They add an elegant touch to everything from favors to wedding day decor. And it seems lately brides are getting more and more creative with doilies – using them to make buntings, paper cones, place cards and to wrap cupcakes, gifts, stationery and favors. That said, it’s sometimes difficult to find doilies that aren’t plain ol’ white.
Why not dye them to match your wedding colors?
DIY dyed doilies are as simple as can be!
DIY Dyed Doilies Tutorial
- You will need:
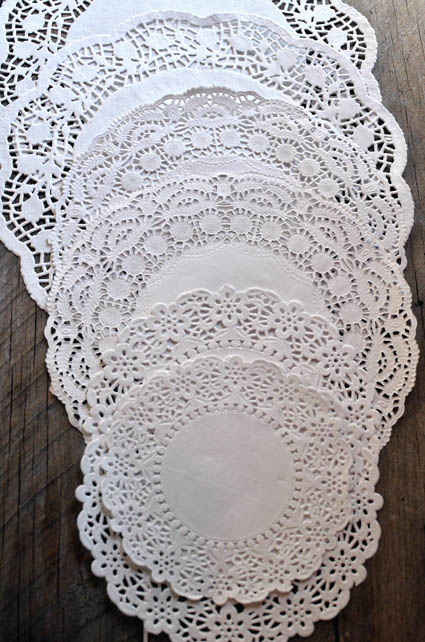
- Round doilies
(We used a variety of sizes)
- Food coloring
- Water
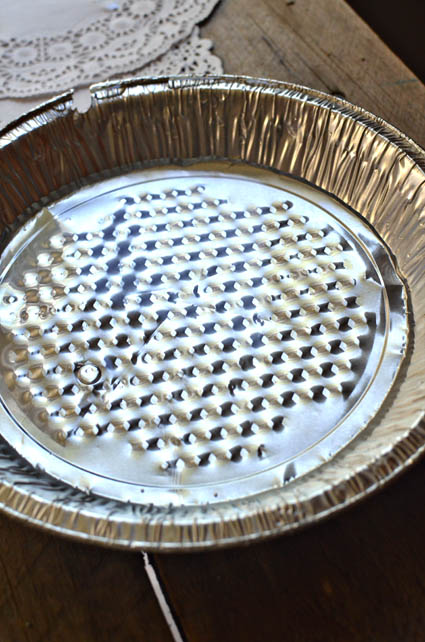
- Pie plate or other shallow dish
- Paper towels
- Latex or rubber gloves
Separate doilies.
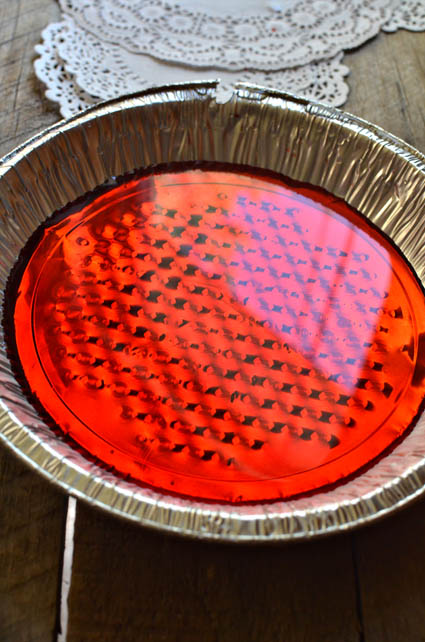
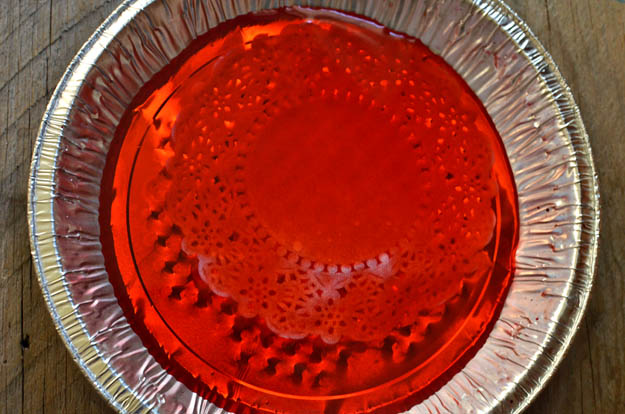
Place enough water in your pie plate so that it will just cover the doily.
Add food coloring. (For the red, I added 1/5 of the bottle. For blue, I only needed a few drops. You will have to experiment to see how much you need as colors and food color varieties vary.)
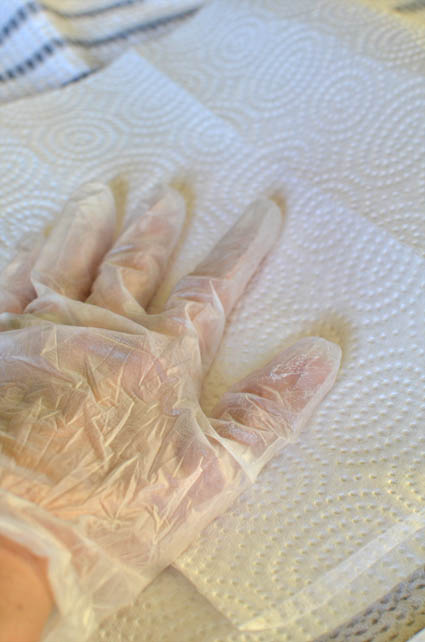
Don your gloves, and carefully submerge your doily. Leave in for a few seconds. The thinner the doily, the darker it will get.
Carefully remove the doily. Try not to lift it by the lacy edges, or it could tear. I found the best method was to lift it from the solid paper center. Place on a paper towel.
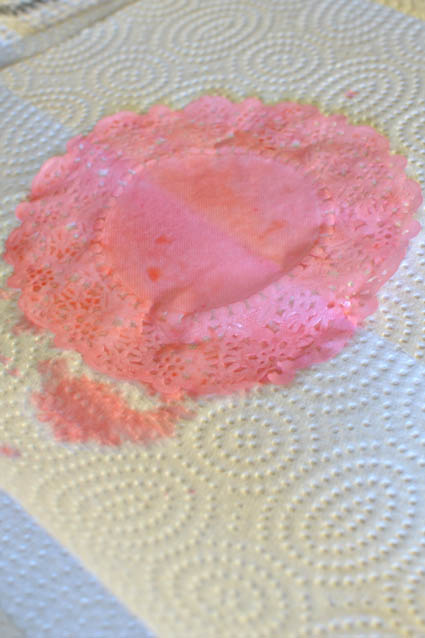 Blot with another paper towel.
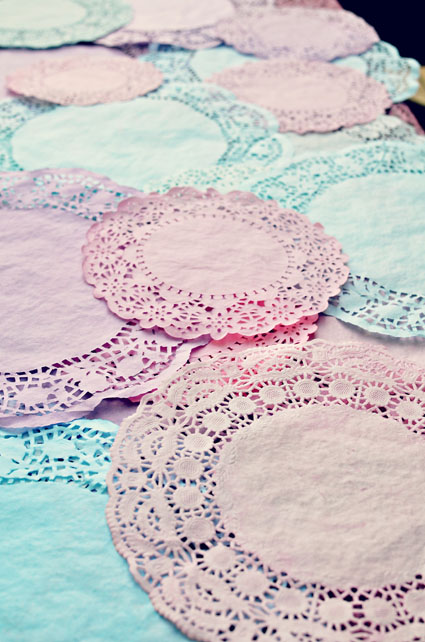
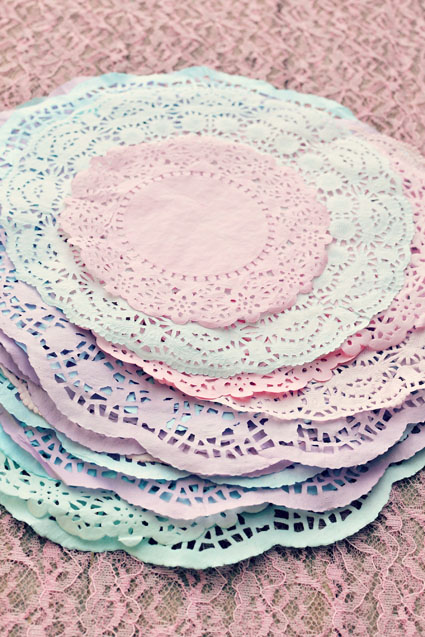
Let dry. It took about half an hour for mine to dry. Aren’t they lovely?
I love how they look under tea cups. I am going to make a bunting with the extras!


