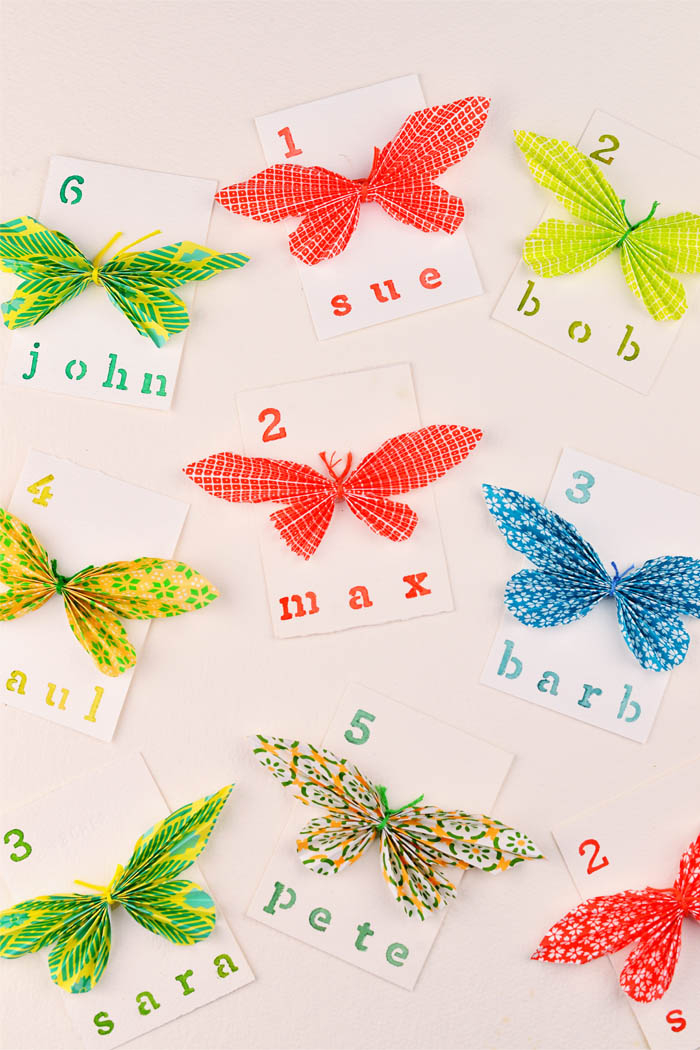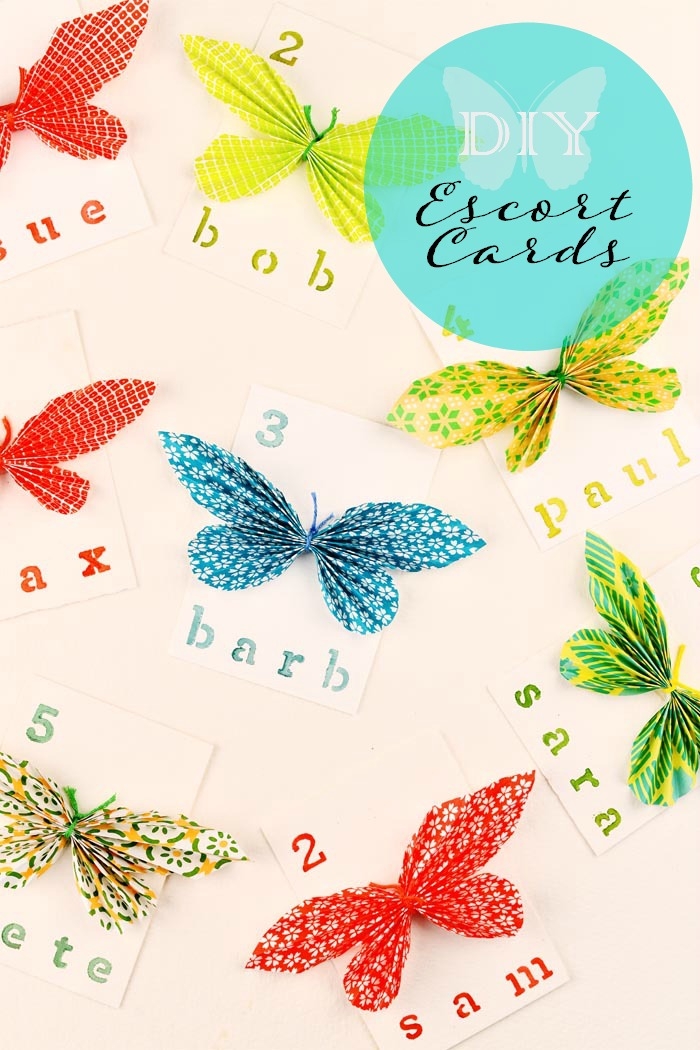
These bright and cheerful DIY butterfly escort cards will set your heart a flutter – especially when you discover how simple they are to make! In fact, no origami skills are required for this DIY wedding project. If you can do an accordion fold (you probably mastered this in kindergarten), then you are good to go!
Here’s how to make DIY Butterfly Escort Cards:
You will need:
- Origami Paper
- string in various colors or baker’s twine
- Watercolor Paper
- watercolor paint
- paint brush
- glue gun
- pencil
- Martha Stewart Glass Adhesive Stencil
(optional)
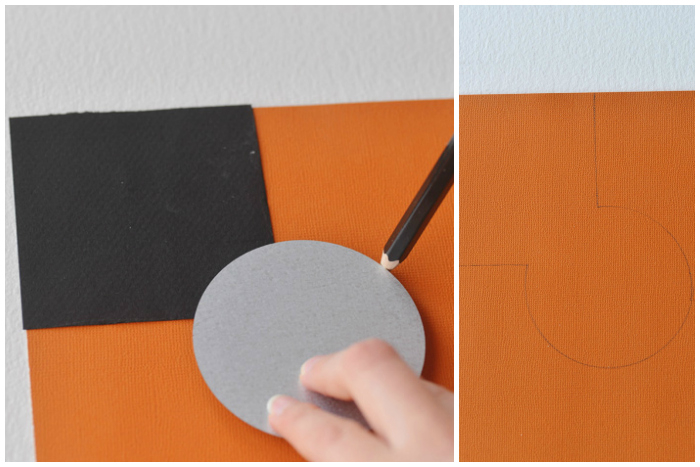
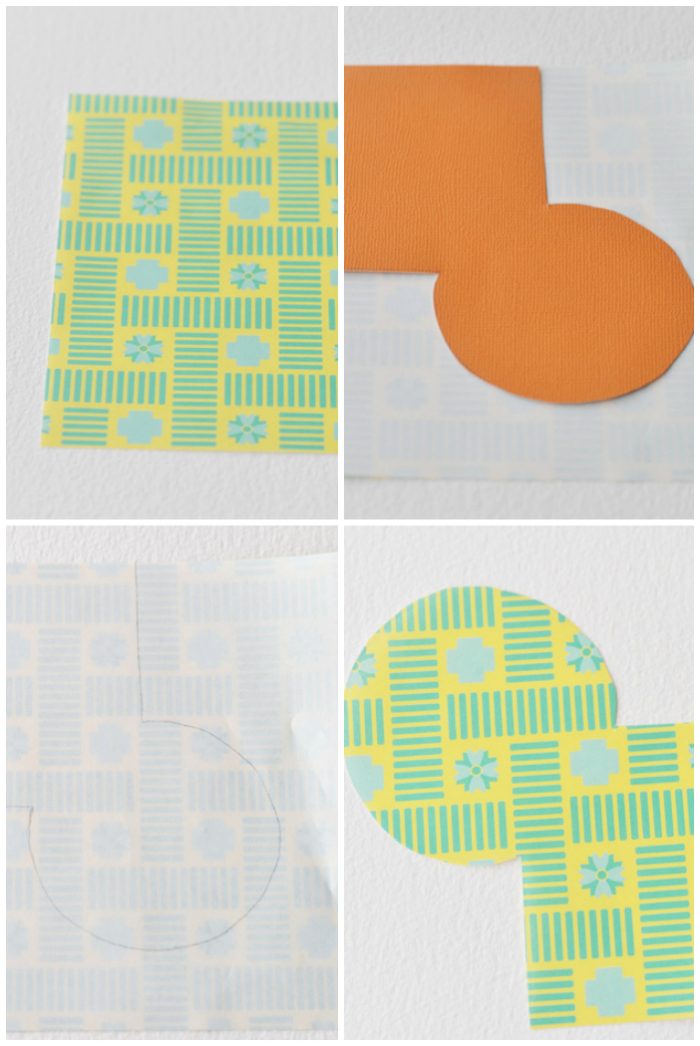
Cut out a square measuring 8 cm x 8 cm, as well as a circle that is 7 cm in diameter. Place the square and the circle on a piece of cardstock. The circle should overlap the bottom right corner of the square as shown in the photo below. Trace the circle and the square and cut out the shape. Place the template on a piece of origami paper and trace it. Cut out the shape from the origami paper.
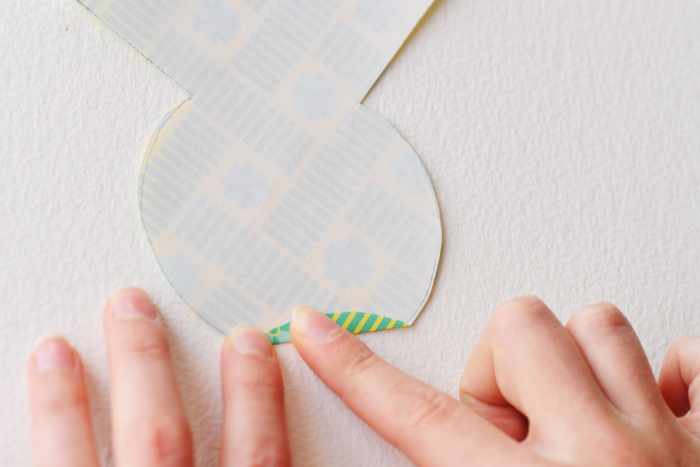
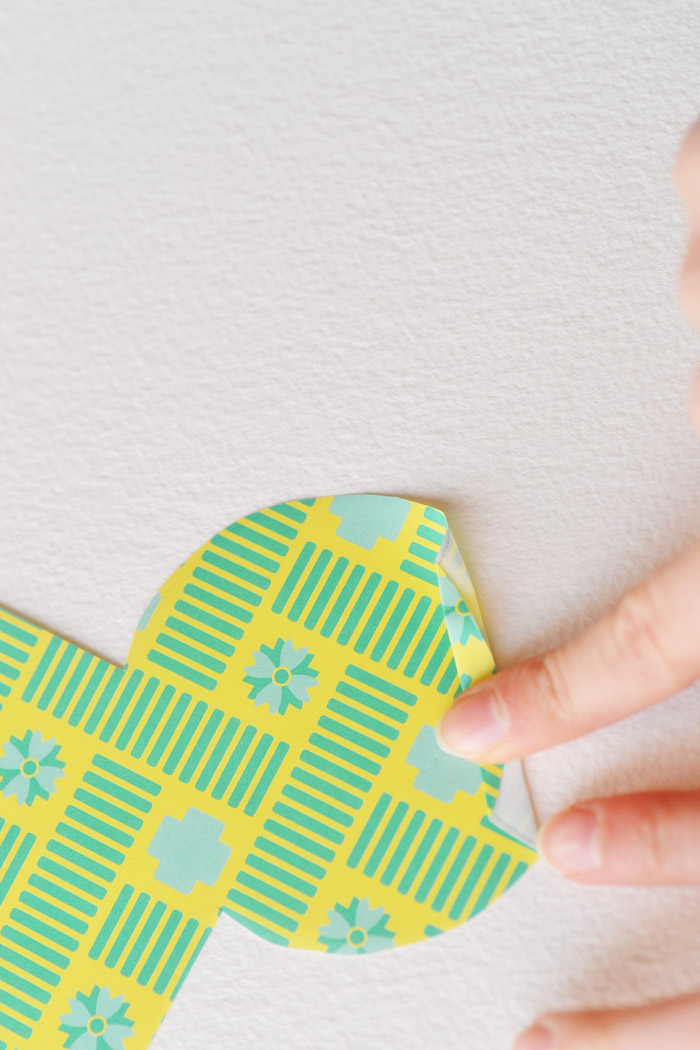
Starting at the circular end, make a small fold. Turn the paper over and make another fold. Continue folding (accordion style) until you have reached the end of the paper.
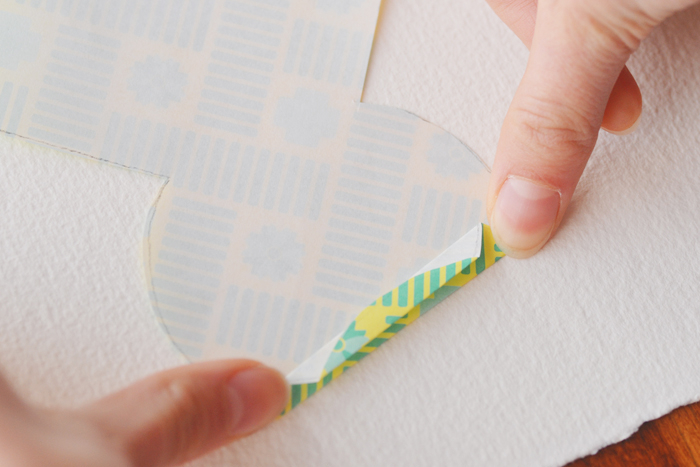
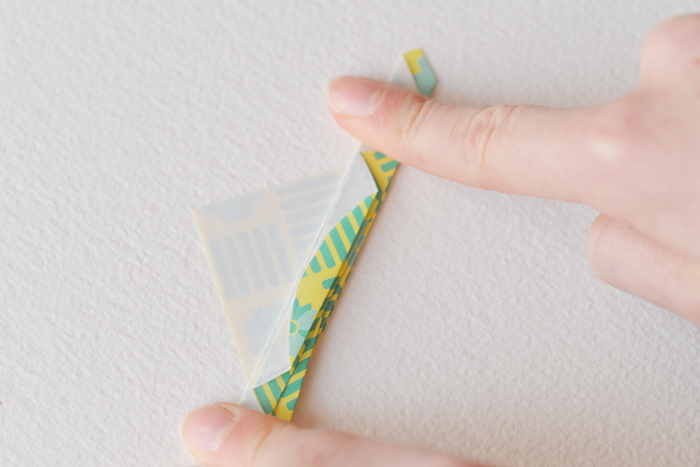
Voila!
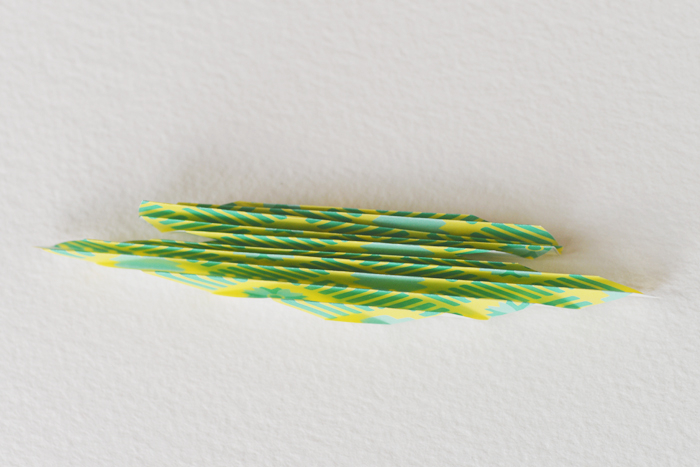
Take a piece of string and place it in the centre of your piece of paper. Tie a knot.
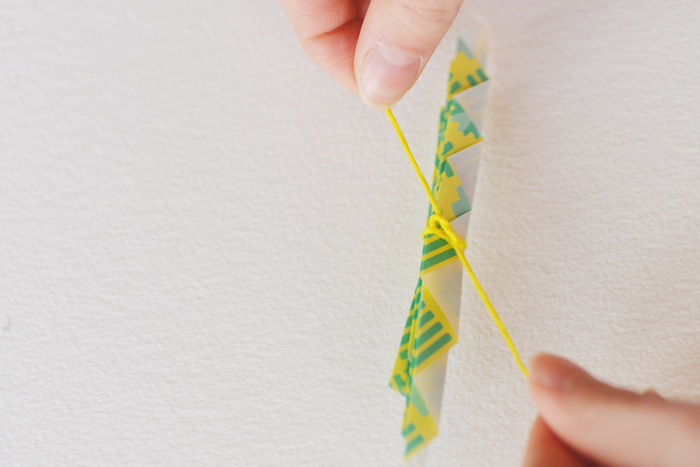
Trim the ends of the string as shown in the photo below. These will be your butterfly’s antennae.
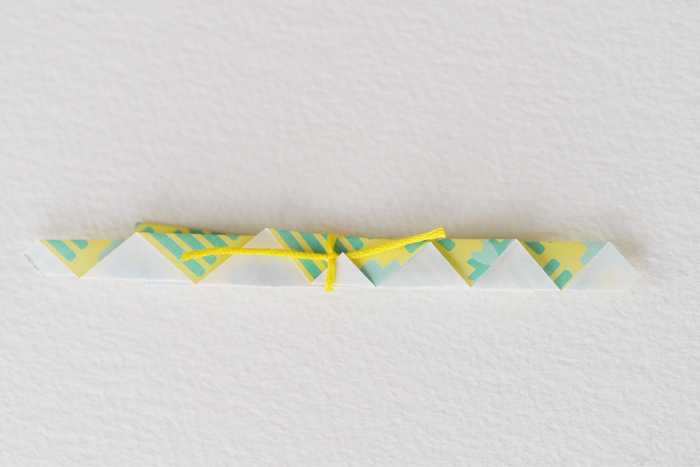
Gently unfurl the ‘wings’.
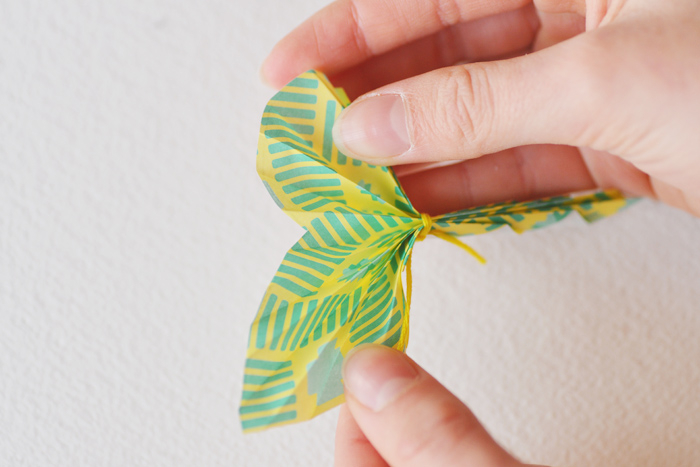
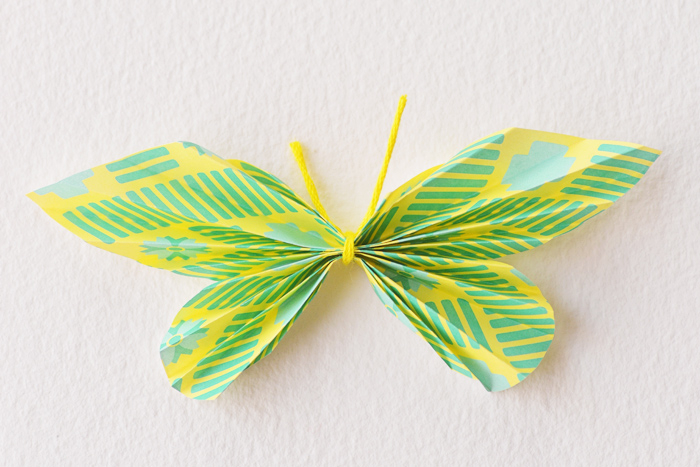
There you have your lovely butterfly!
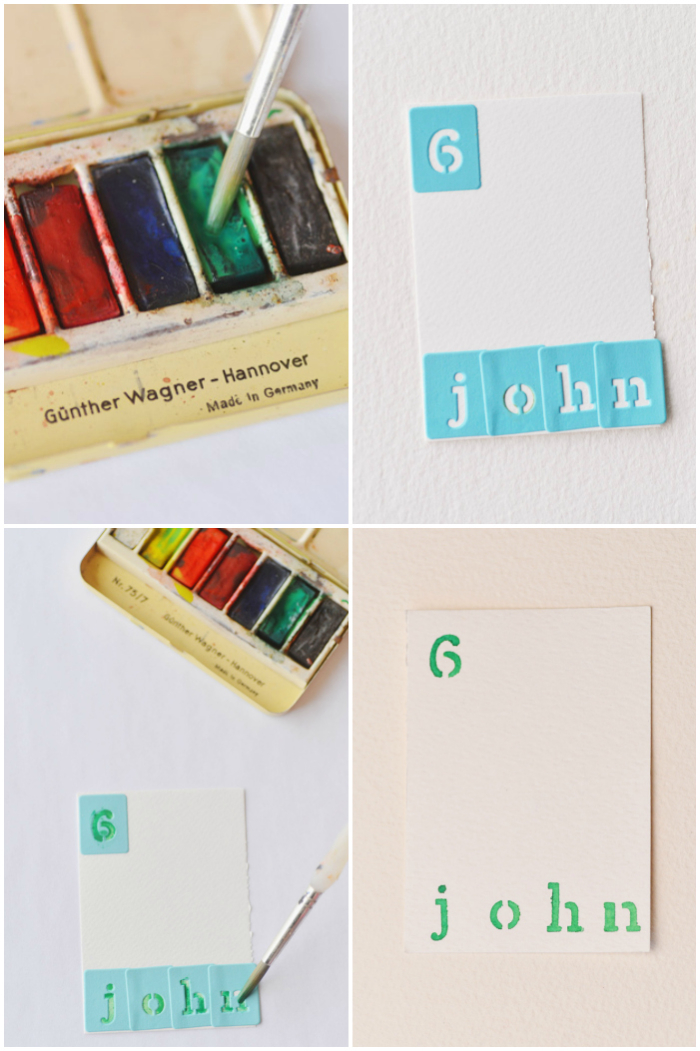
Place your adhesive stencils on the bottom of a piece of 3.5″ x 2.5″ watercolor paper, spelling out the name of one of your guests. Place your table number stencil at the top of the paper. Use watercolor paint to fill in the letters and number. Let dry (using a hairdryer speeds up the process.) Remove stencils.
Using a glue gun, place a dab of glue in the centre of the butterfly (on the back) and adhere to centre of watercolour paper.
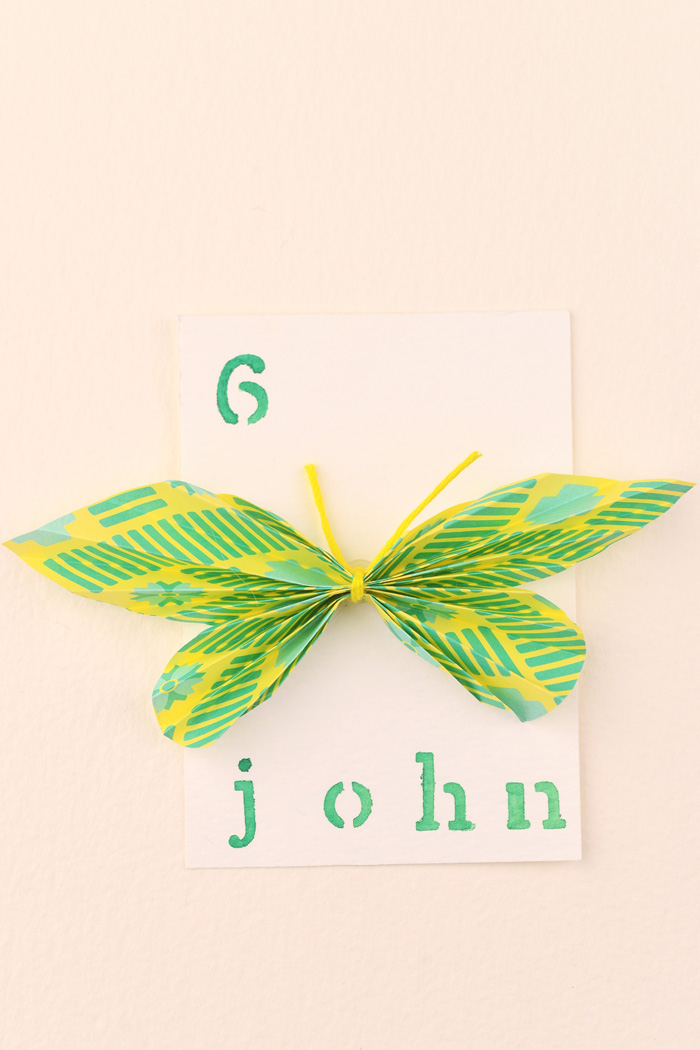
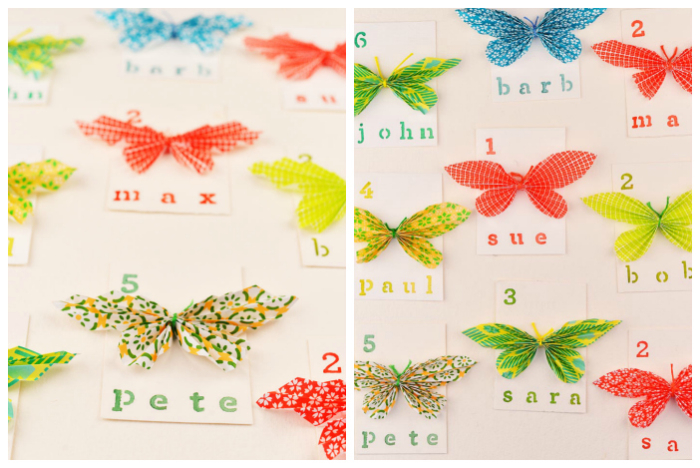
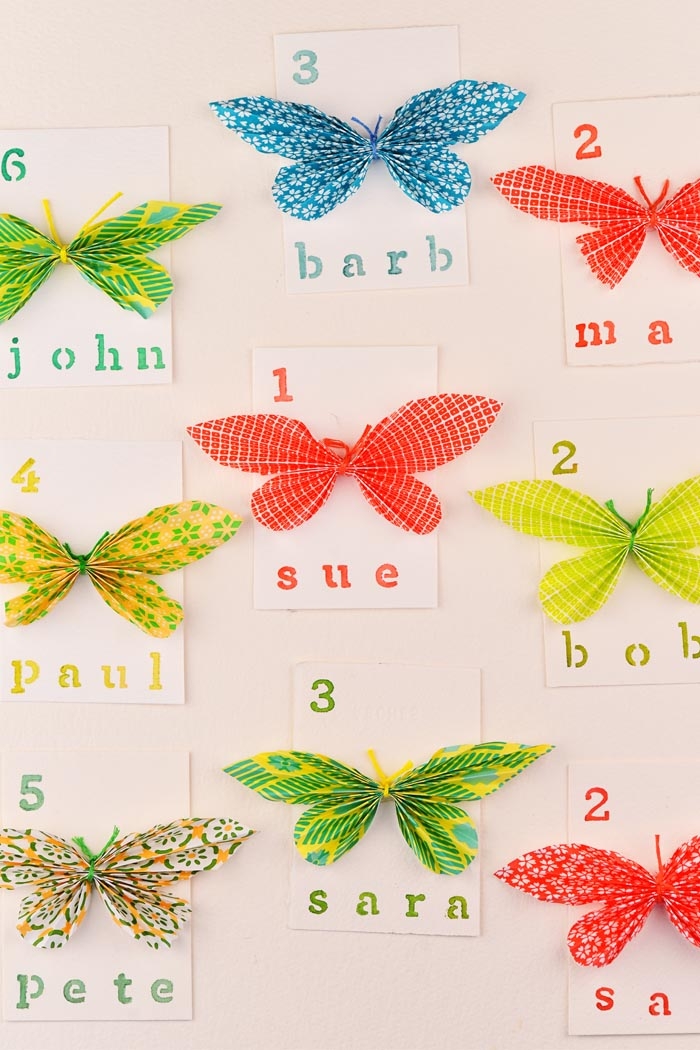
That’s it! Mix and match patterns and colors for a striking DIY wedding display.
