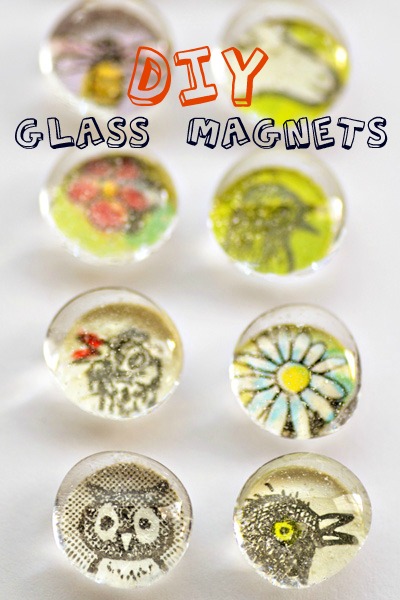
Glass magnets cost pennies to create – and they make adorable DIY wedding favors.
When I found out that you could make these with the plain ol’ flat bottomed clear glass gems that you can find at the dollar store, I got really excited. I had three bags of these babies sitting around. I had no idea what I was going to do with them – that is until I discovered glass magnets! I also happen to have heaps of vintage kids books in my art room, so I had no problem finding cute illustrations to use. If you don’t have any vintage children’s books, you can use just about any type of paper with an image or pattern that you like. I’ve seen some beautiful glass magnets made with origami paper and scrapbooking paper.
Here’s the lowdown on what you need for DIY glass magnets:
- bag of clear glass gems (mine were 2cm, but you can use larger ones if you want)
- Circle Craft Punch, 5/8-inch
(use a larger punch if you are using larger glass gems)
- illustrations
- small, round magnets
- Mod Podge
- E6000 Multi-purpose Adhesive
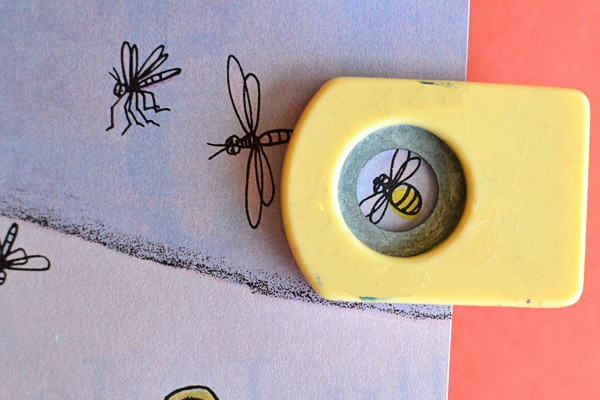
Punch desired illustration.
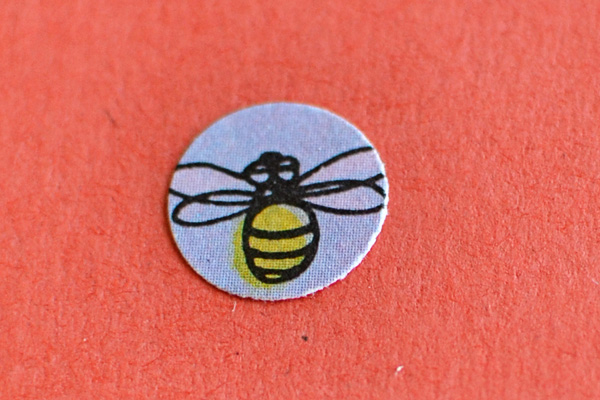
Use Mod Podge to glue your punch-out onto the flat side of your clear glass gem. Once glued, add some Mod Podge
to the back as well.
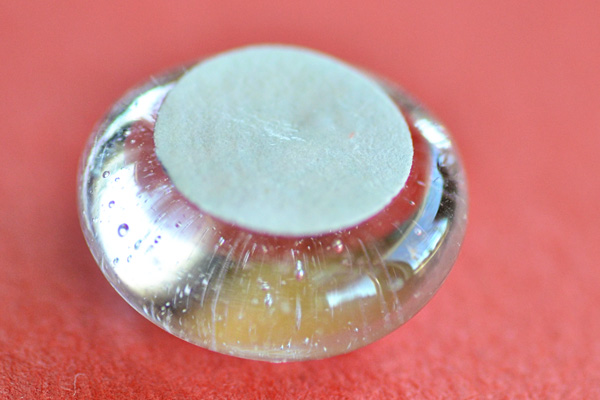 If you are using thin paper, punch out a plain piece of white paper and glue on top of illustration. That way you won’t be able to see the magnet through the glass. Use E6000 Multi-purpose Adhesive
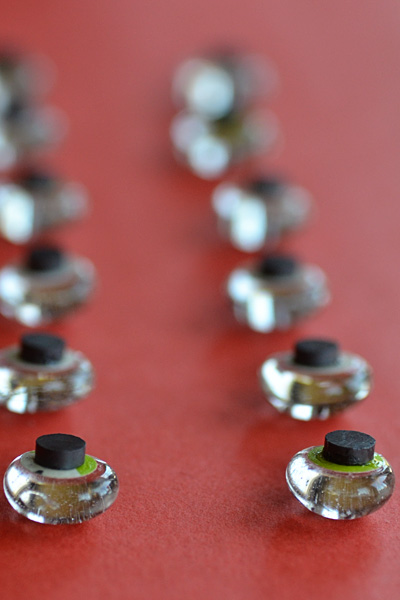
to glue magnet to the back of the glass gem. (I used a toothpick to spread the glue.)
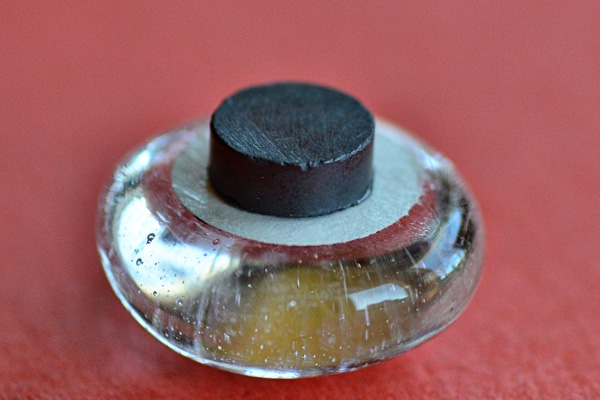 Let glass magnets dry overnight before packaging as wedding favors.
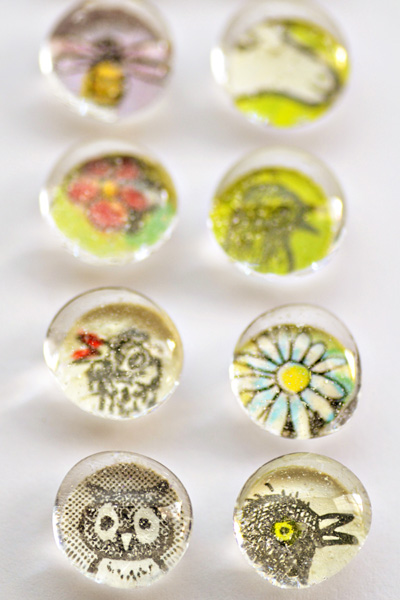
Here they are in action:
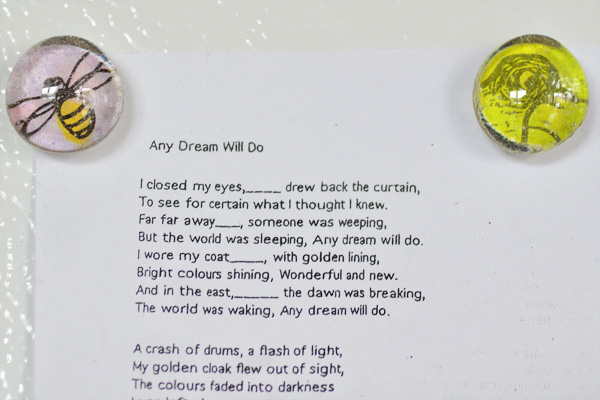
Come back tomorrow for packaging ideas!


