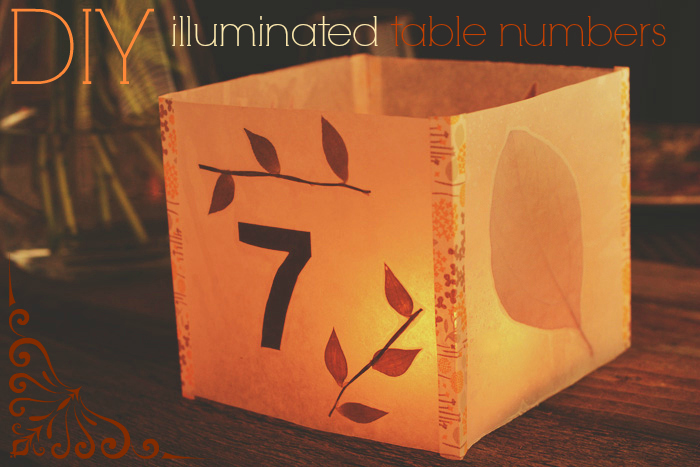
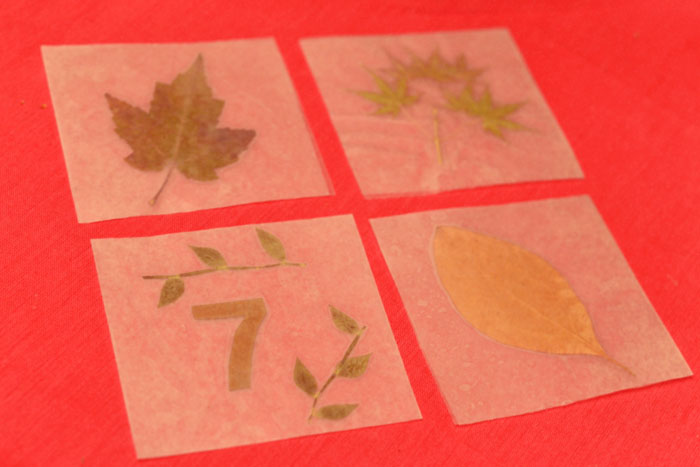
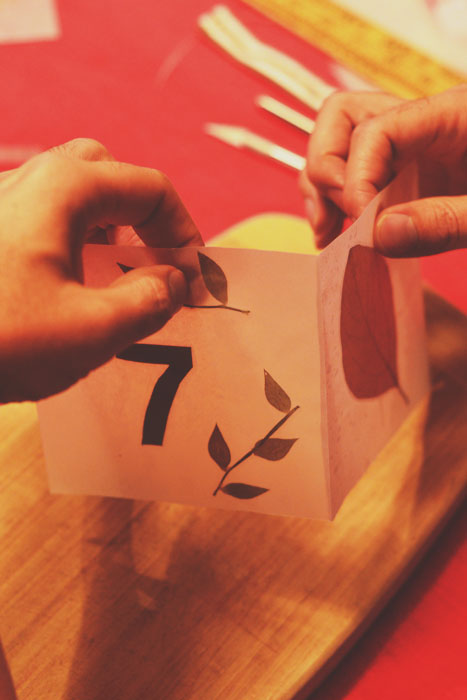
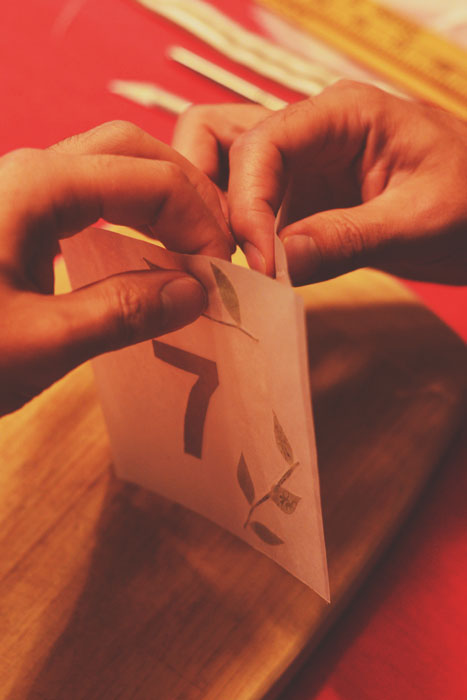
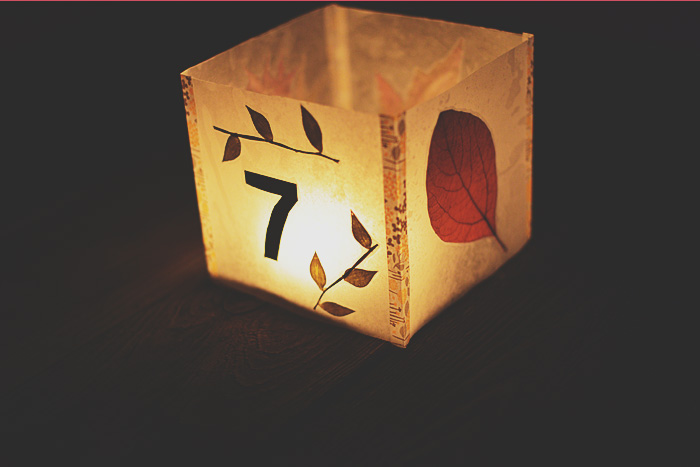
It’s amazing what you can do with a bit of wax paper, washi tape and a few dried leaves! These illuminated table numbers cost next to nothing to make, and were a breeze to create. Perfect for a fall wedding, don’t you think?
Here’s how to make your own illuminated table numbers:
You will need:
- wax paper
- dried leaves or dried flowers (you can use a dried Flower Press
, which is what we used, or do it the old fashioned way.)
- card stock
- xacto knife
- washi tape (Cute Tape, which is where we got ours, has a great selection!)
- iron
- cutting board
- ruler
- Bone Folder
- Number Stencils
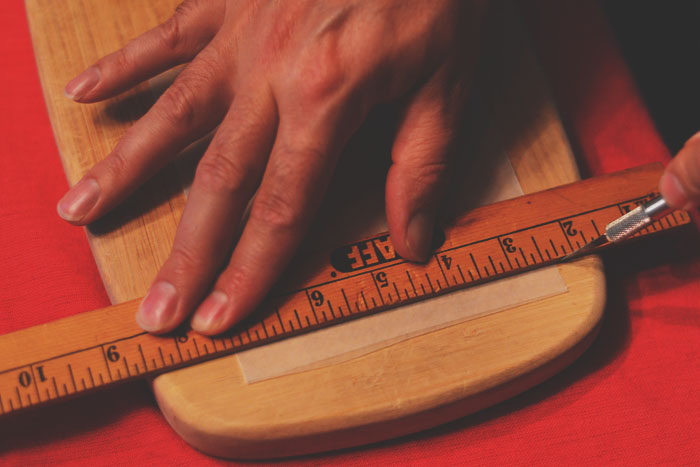
Cut four pieces of wax paper to 5″ x 10″.
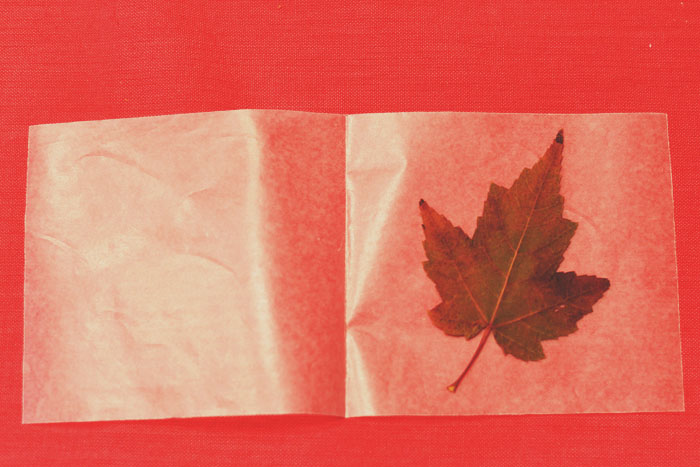
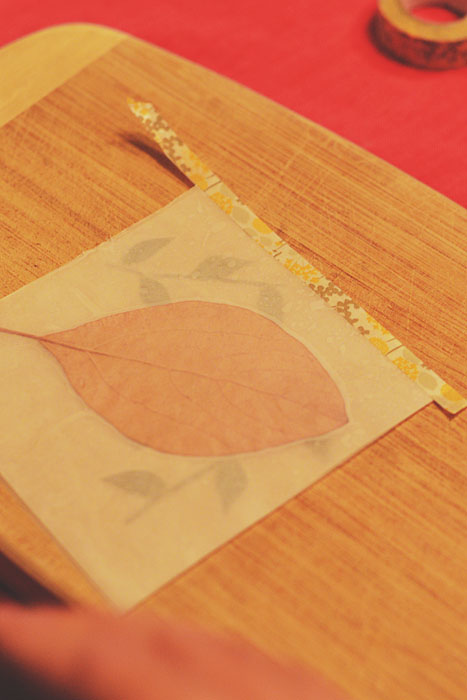
Fold in half to make a square, making sure the waxed side of the paper is on the inside. Place leaf on right half of paper, as shown below:
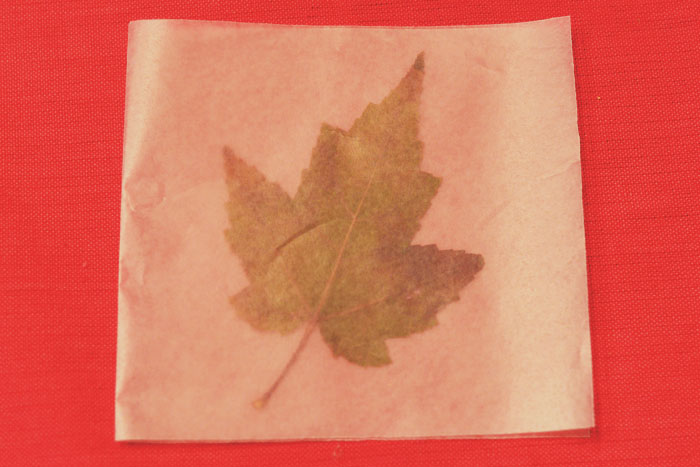
Fold top half of wax paper over the leaf, making sure all the corners line up.
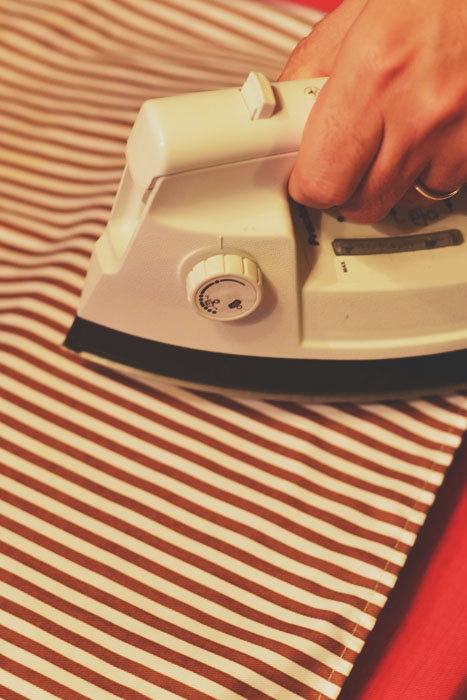
Place iron on medium setting. (Make sure it is not on steam! You want dry heat.) Place a towel or cotton fabric over the waxed paper and iron until the two sides of wax paper adhere to each other.
Repeat this process with three of your pieces of wax paper. This will give you three panels. For the last panel, you will create your table number.
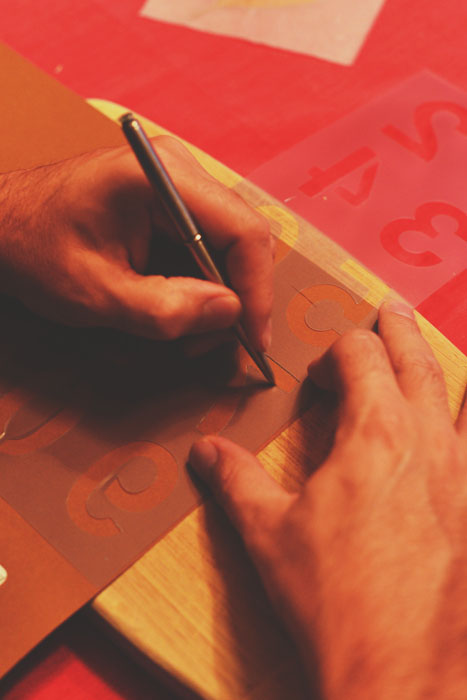
Use a stencil to draw your number on a piece of card stock.
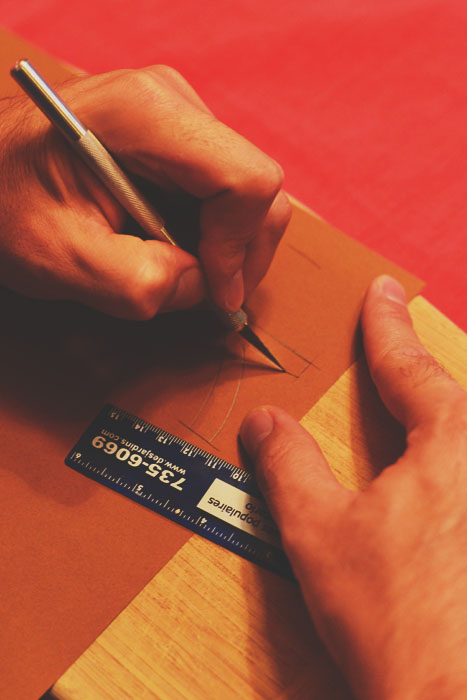
Cut out with an xacto knife.
Place your table number in the folded wax paper, the same way you placed the leaves. Add dried leaves if desired. Iron. Now you will have four panels.
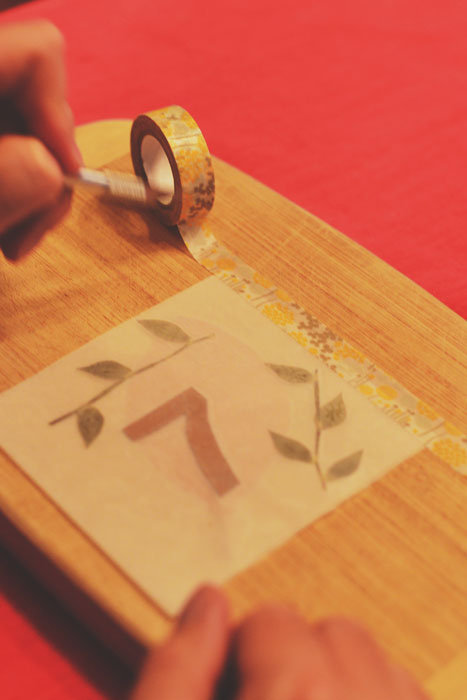
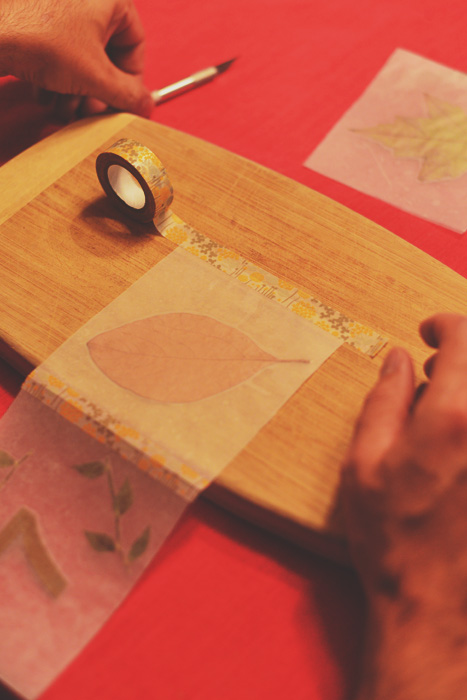
Use your washi tape to adhere your panels, as seen below:
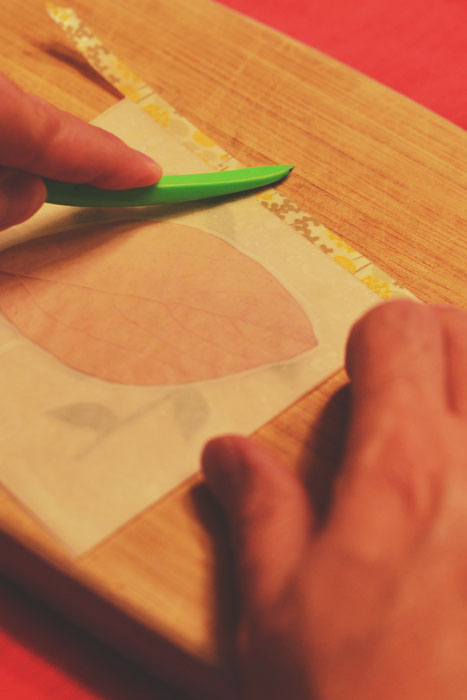
Use a bone folder to smooth washi tape.
Once all panels are taped together you will have a cube that is open on the top and bottom. Place tea light in the centre of the cube. To reduce the risk of fire, use a battery operated tea light.
Isn’t it gorgeous?


