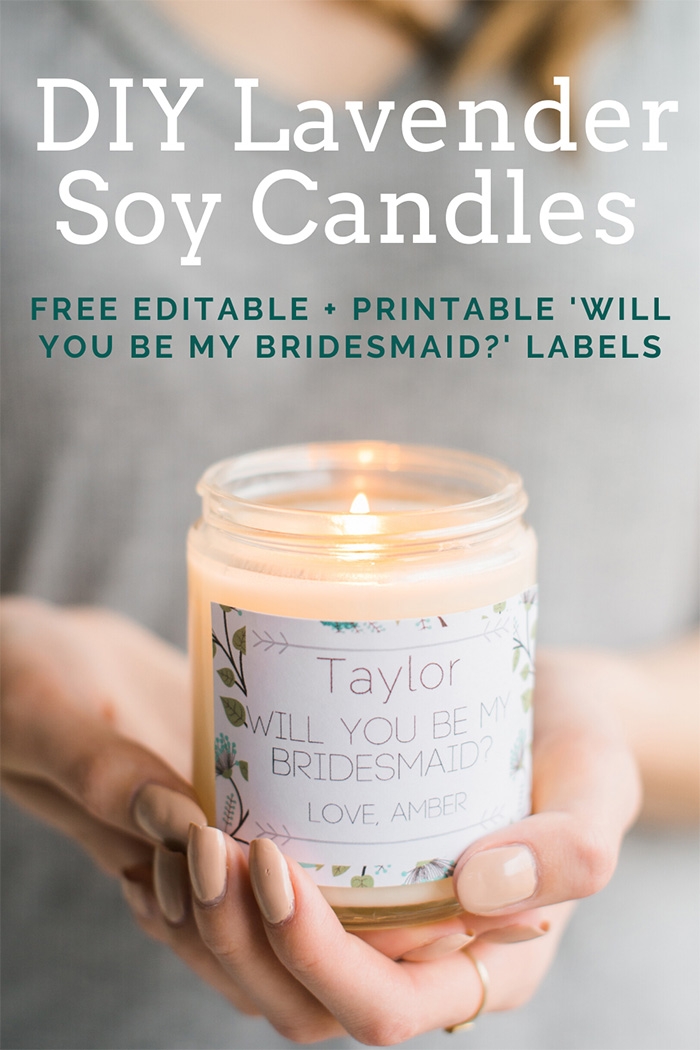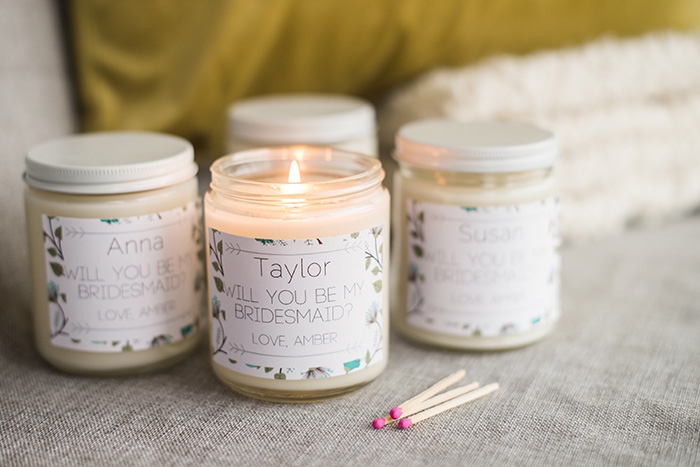
If you’ve ever wanted to make DIY lavender soy candles, but were afraid to try, today is your lucky day! We’ve been making and selling soy candles for more than a year and we’ve learned a few tricks along the way. Not only are we going to let you in our candle making secrets, we’re going give you some free editable candle labels that you can personalize any way you like.
It took us months of trial and error in our studio to nail down a foolproof method for candlemaking. We’re going to save you time and money by passing along what we’ve learned.
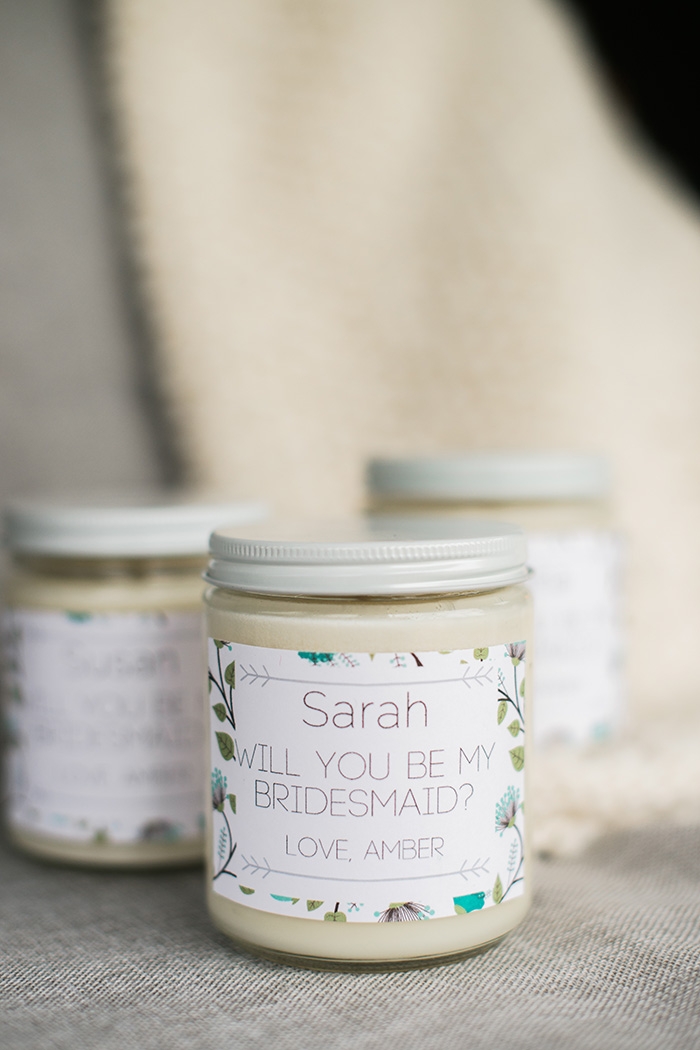
If you are making lavender soy candles as bridesmaid gifts, either 4 oz candles in tins or 9 oz candles in jars are excellent options. This tutorial is for 9 oz lavender soy candles in jars. If you prefer another fragrance, you can simply swap it out with one of your favorites (lemongrass is another wonderful scent, and it’s less expensive!).
All of the candles that we make are scented with essential oils and natural, plant-based fragrances. We’ve never even experimented with synthetics, as we prefer natural products in our home.
Our lavender soy candles are one of our biggest sellers at artisan markets. If you are making these as gifts for your bridesmaids, there’s no doubt that they will be over the moon with these handmade candles.
Before we get into the nitty gritty of making soy candles, you’ll want to keep a few things in mind. First, is to have a well ventilated space. Even though you are using natural plant based oils, the concentration of oils is strong and will fill up a room. If you are making these in your kitchen, turn on your kitchen fan.
You will also have to decide how much you want to spend on each candle. There are several varieties of lavender essential oil. Varieties include English lavender, French lavender, 40/42 and Lavender population. We used French lavender for our candle. No matter which variety you choose, you will discover that lavender is pricey.To cut down on cost, reduce the amount of essential oil that you use in the candle, giving it a more subtle scent.
You will need:
- double boiler
- thermometer
- Digital Kitchen Scale
- 198 grams Natural Soy 444 Wax
- 17 grams (by weight) Lavender Essential Oil
(or 19 ml by volume)
- ECO 12 6″ Pretabbed Wick from Candle Science
- wick stickers (you can also use a glue gun to adhere the wick to the bottom of the jar) from Candle Science
- small wick centering tool from A Candle Co. You can also use chopsticks or a pencil to center the wick.
- 9 Ounce Glass Straight Sided Mason Jar
with metal lid
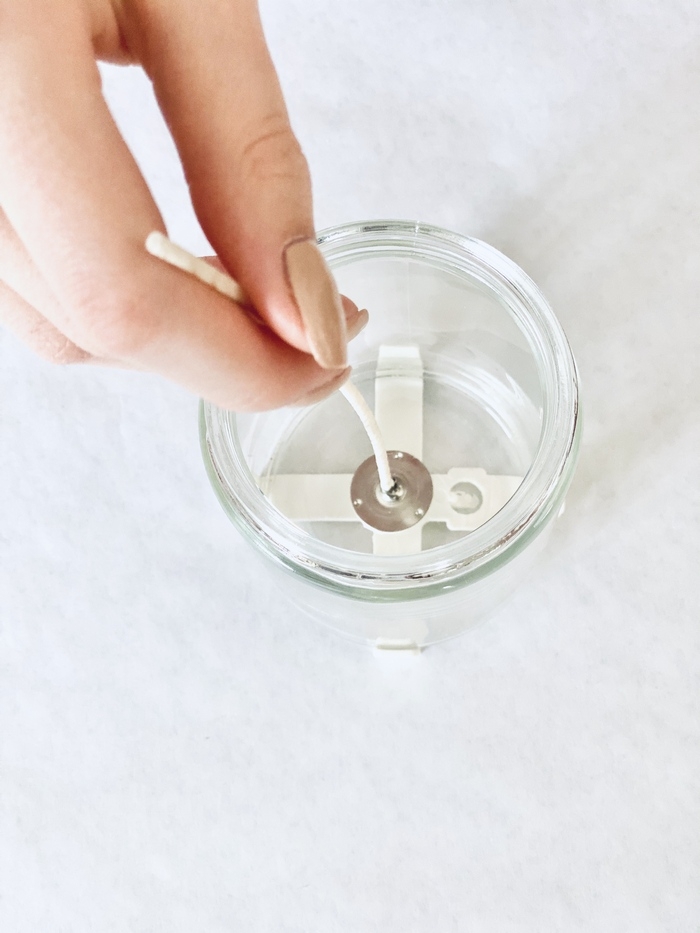
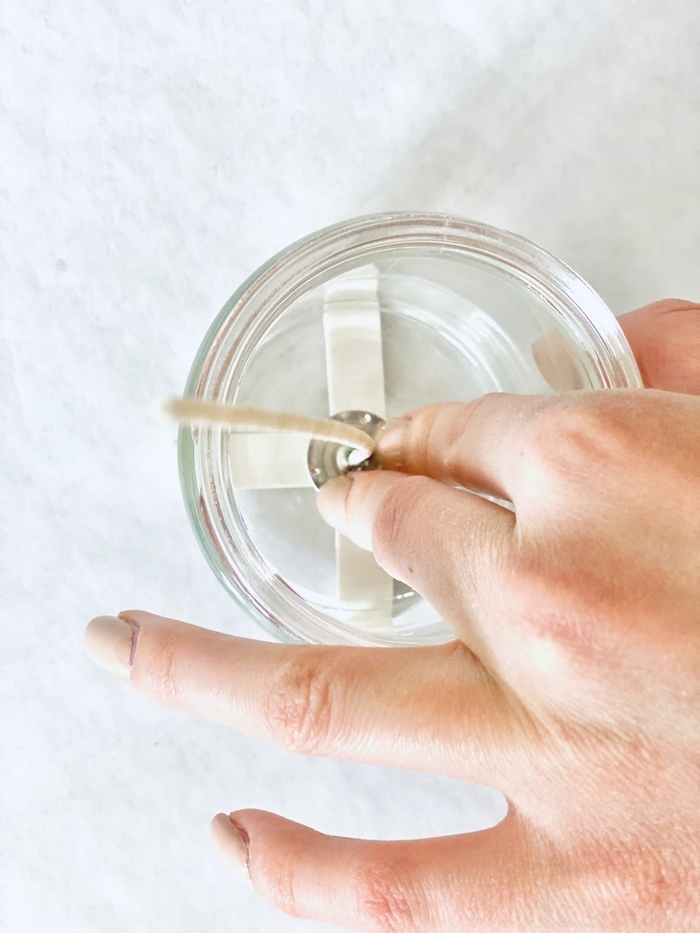
Get your jar ready by adding the wick to the bottom of the jar. Make sure it is centered. If you are using a wick sticker to adhere the wick to the jar, make sure you press on the bottom of the wick so it won’t come loose from the glass.
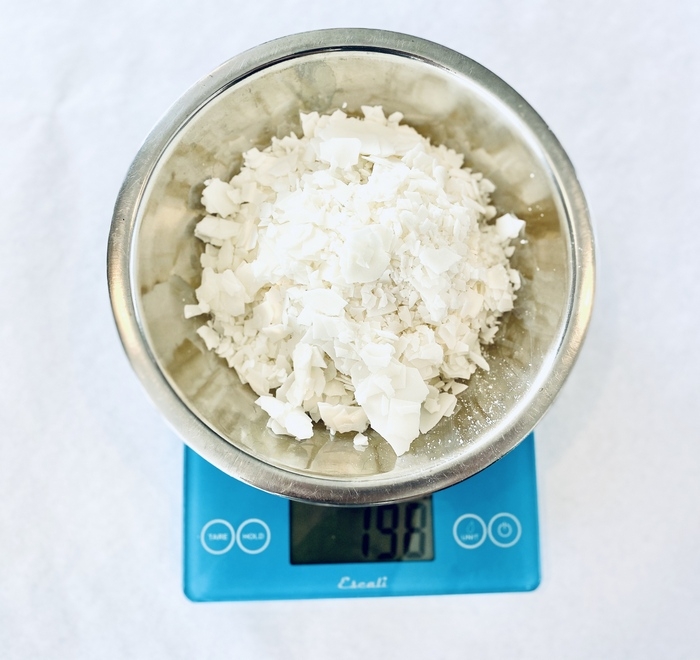
Weigh your wax. You will need 198 grams for an 8 oz candle.
Add water to bottom pot of double boiler. Place your wax on the top pot of a double boiler.
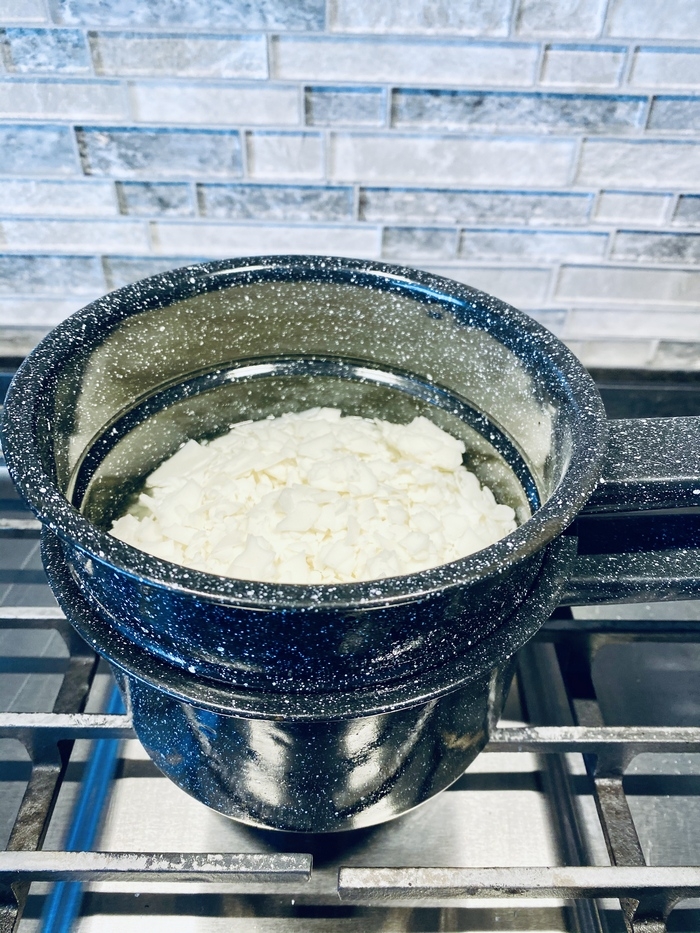
Keep heat on low to medium and let wax melt. Soy wax has a low melting point, so it won’t take long.
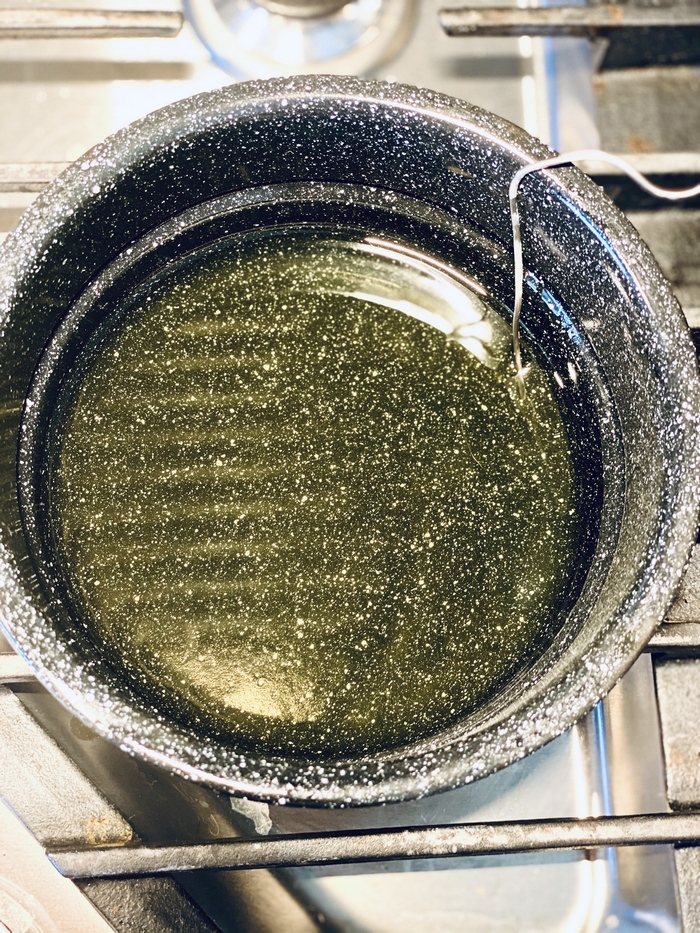 Once wax has melted, remove from heat.
Let cool for several minutes until temperature is between 100-120 F.
Meantime, pour your essential oils into a container and weigh them. You will need 17 grams.
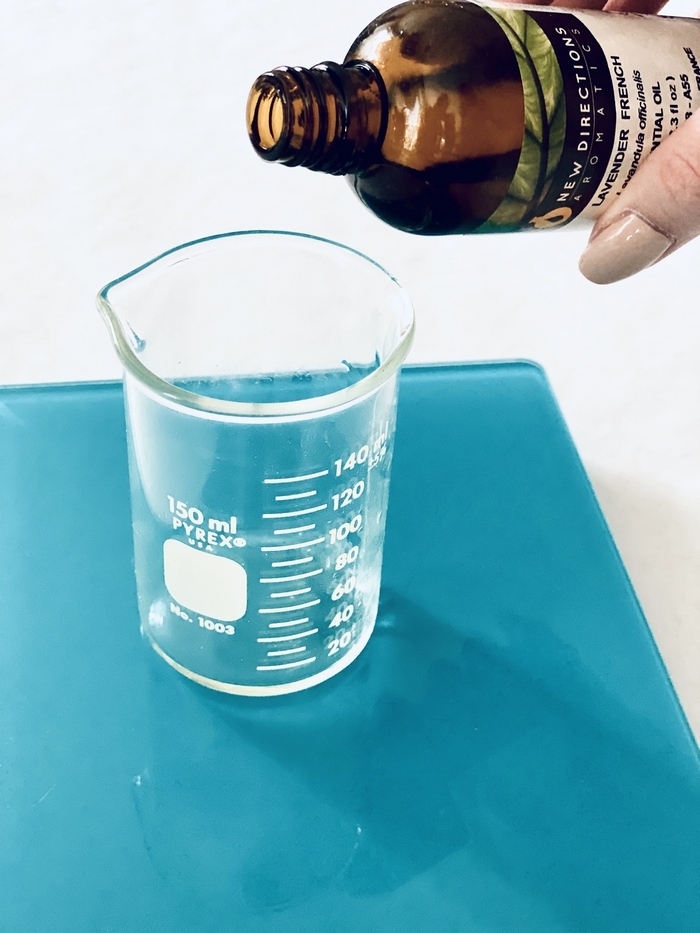
We usually wait until the wax has cooled to 100 degrees and appears milky before we add the essential oil. Through trial and error, we have learned that this method will help to prevent sink holes (trust us, sink holes are the devil!)
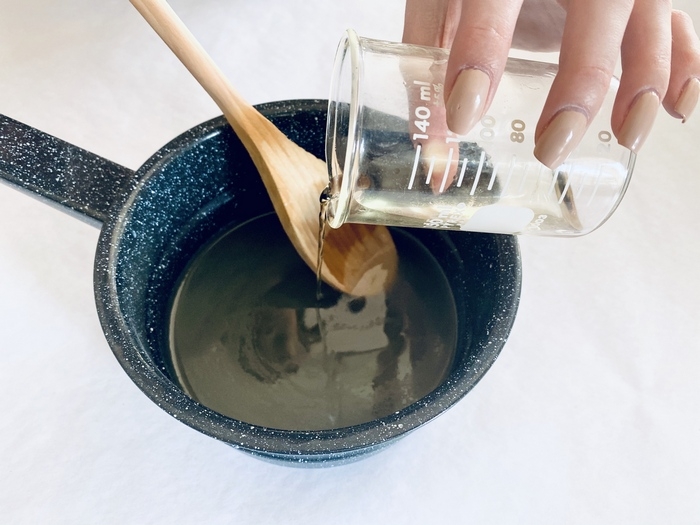
Gently stir the essential oil into the wax, then pour the wax into your jar.
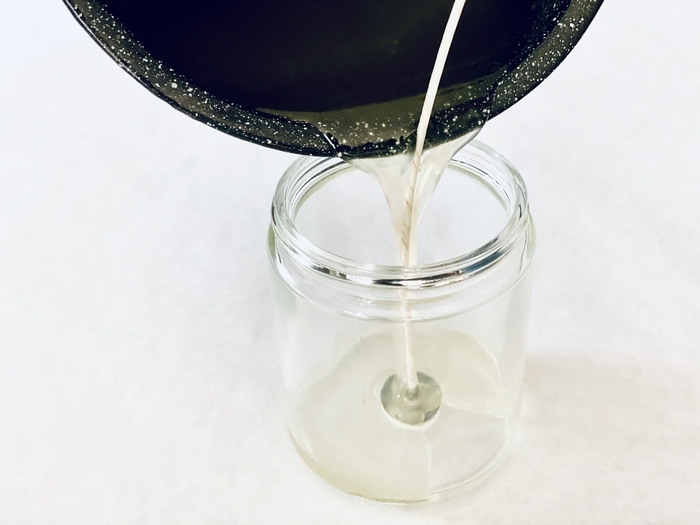
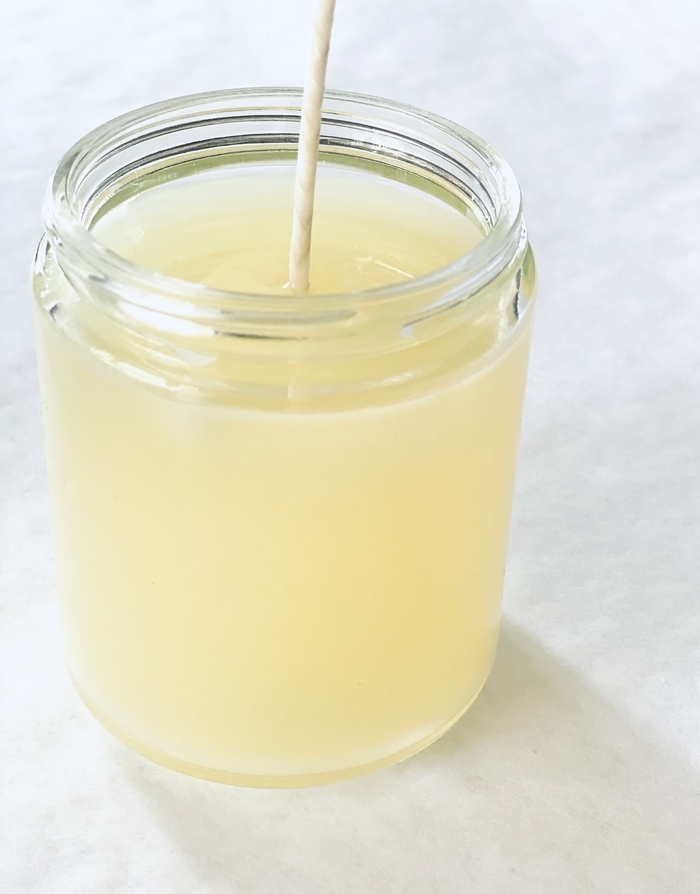
Add centering tool to keep wick centered.
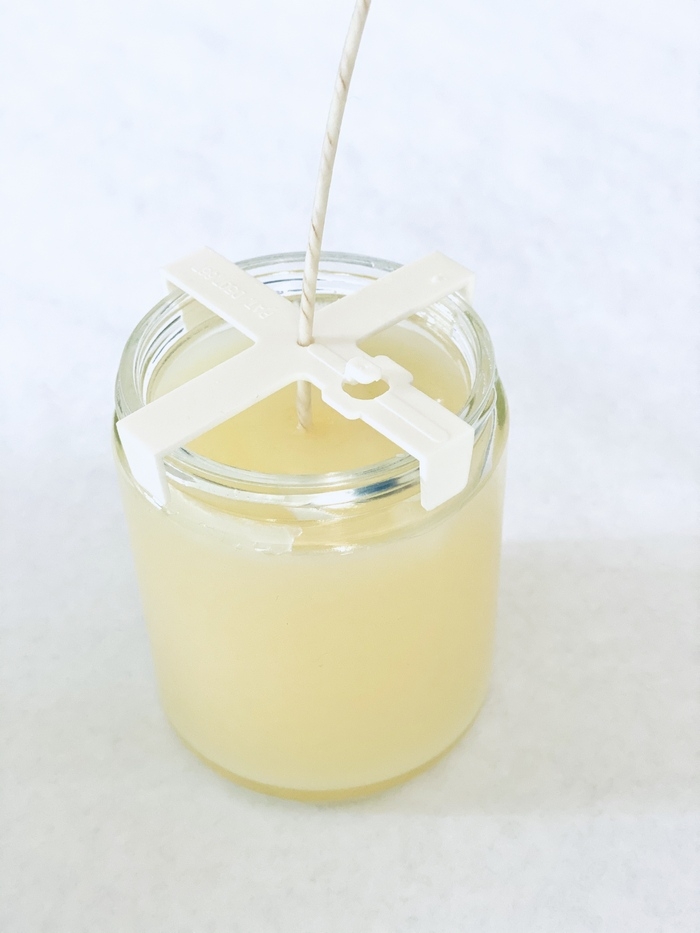
While the wax is cooling, wipe out your double boiler with a paper towel, when wash it with soap and water. We always recommend wiping it out first; you don’t want soy wax to harden in the pipes of your kitchen sink!
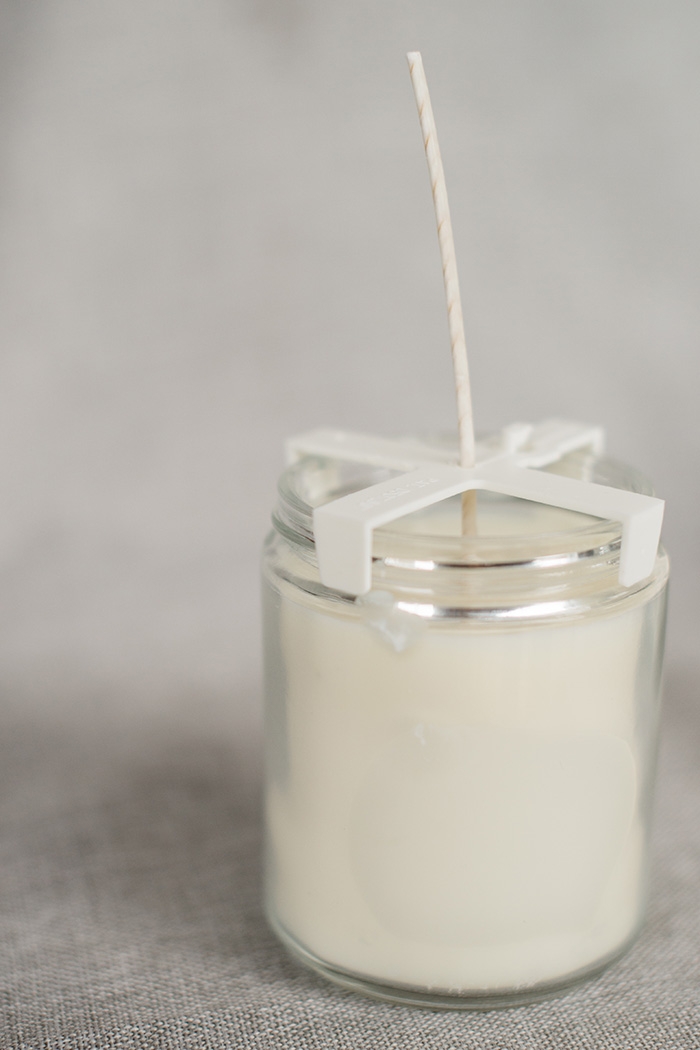
Let the candle cool for several hours before trimming the wick.
Open your printable and customizable ‘will you be my bridesmaid?’ candle label in Canva.
Click on File found on the status bar.
Select Make a copy. This will open a new window with the copy of your design saved to your account.
Now you can go ahead and edit the text in in Canva.
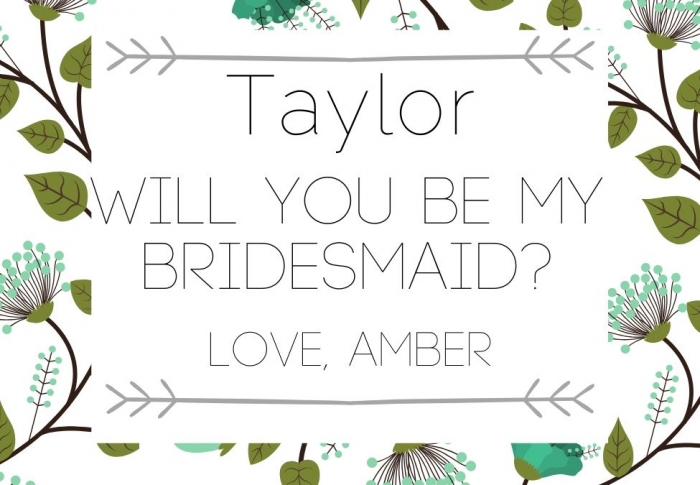
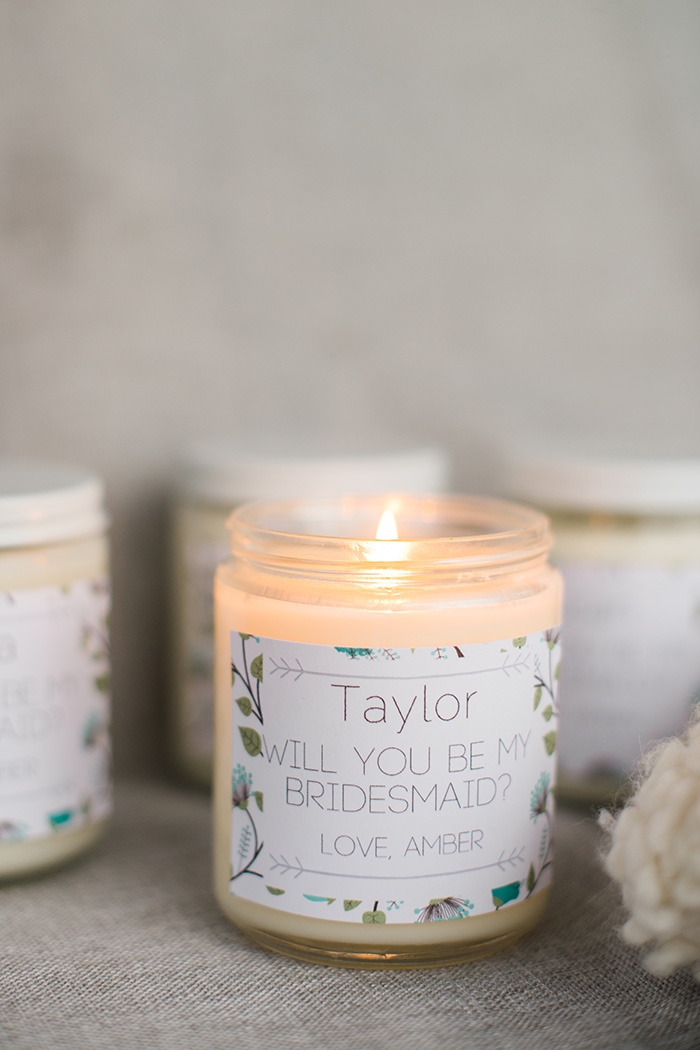
Print your label on label paper, or use a glue stick to adhere label to jar.
That’s it! Now, you get to watch your bridesmaids swoon over your creation!
*This post includes Amazon affiliate links.


