Looking for unique boutonnieres for your dapper groom? Check out the boutonnieres at this site (via Vancouver Bride).
Looking for unique boutonnieres for your dapper groom? Check out the boutonnieres at this site (via Vancouver Bride).
Save
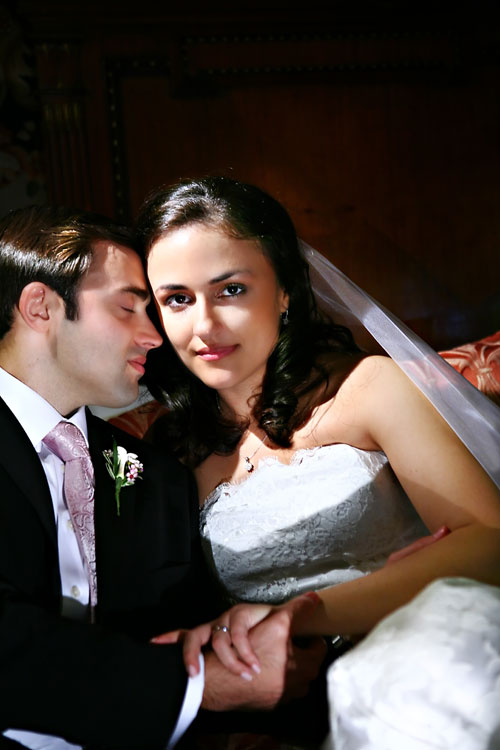
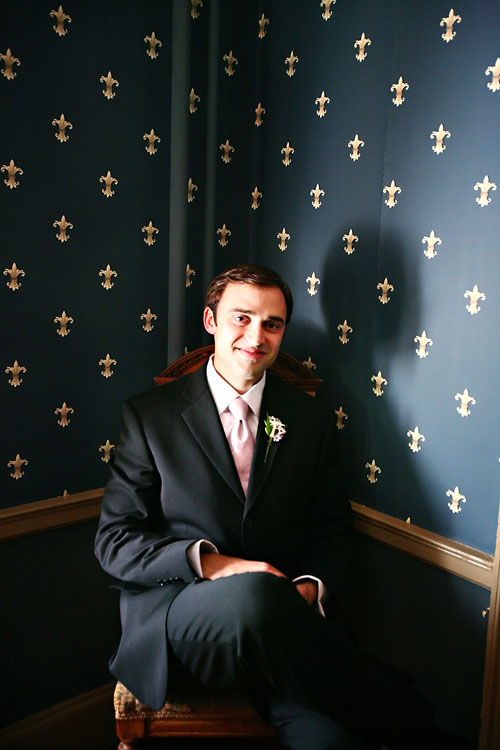
Marina 25 & Rich, 27
Mt. Joy, PA
Wedding Date: August 31, 2008
Number of Guests: 50
Wedding Ceremony Location: Garden Setting at Cameron Estate Inn
Wedding Reception Location: Cameron Estate Inn

Why did you have an intimate wedding?
We wanted our wedding to be sunny, light-hearted, romantic and most of all, soulful. We wanted the celebration of our union to reflect who we are as individuals. We wanted to celebrate our love and focused more on the ceremony rather than a loud reception. We had a vision of an intimate gathering with our closest family and friends.
What are some the challenges that you faced planning an intimate wedding?
It was difficult to find a venue that was just right. Some of the places we inquired with said they would not do a small wedding. Many others were just too big or way too expensive. We didn’t give up and eventually we got it right and found what we were looking for in Mt. Joy!
Was it difficult to pare down the guest list?
For us it was not difficult to narrow down the guest list since we knew we were only having our closest family and friends. If we didn’t speak with them in the past year (and our parents didn’t speak to them in the past year) they were not on the list. Sticking to these parameters really helped.
Did you have any ‘issues’ with the small guest list from friends and family? If so, how did you address them?
There were a few disagreements about who should be invited but it never became a major issue. We knew that we had some flexibility with how many people our reception site can hold (50 to 75), so we didn’t worry too much when people started asking if they can bring dates!
What were the highlights of the ceremony?
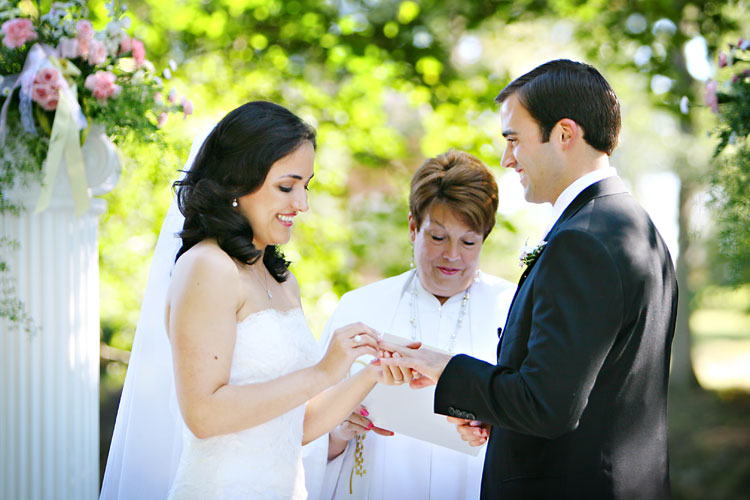
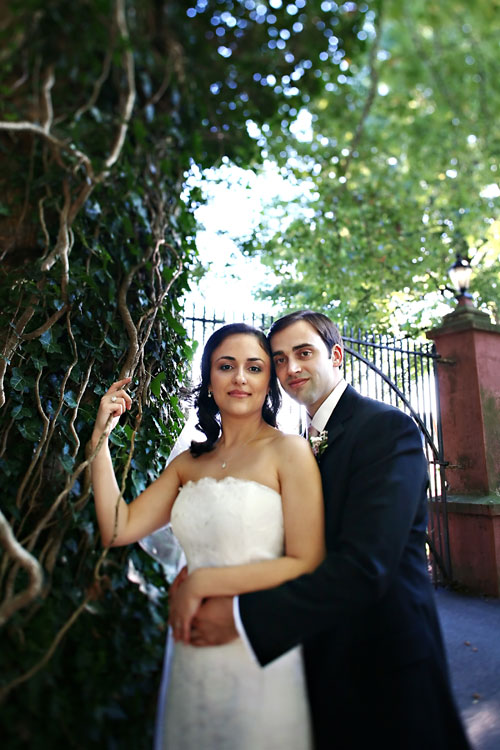
The whole ceremony was beautiful! The weather was sunny, with a light breeze, everything green and perfect. The most memorable part was when we said our vows, we both remember a ray of sun hitting our faces just at the right moment! We also managed to light our unity candle without major incident (it was breezy and everyone gasped as my veil caught wind and swung way too close to the flame) and the flame stayed lit the whole time.
What were the highlights of the reception?
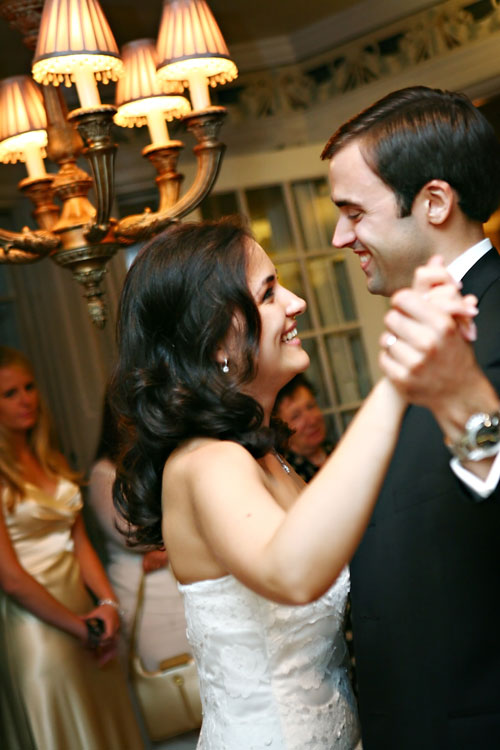
The highlight of the reception is the father of the groom’s speech/wedding toast. He recapped our courtship, proposal, engagment and had the whole room laughing and crying. It was very heartfelt, emotional and just the most wonderful thing that could have been said on such an important day.
What was the best thing about having an intimate wedding?
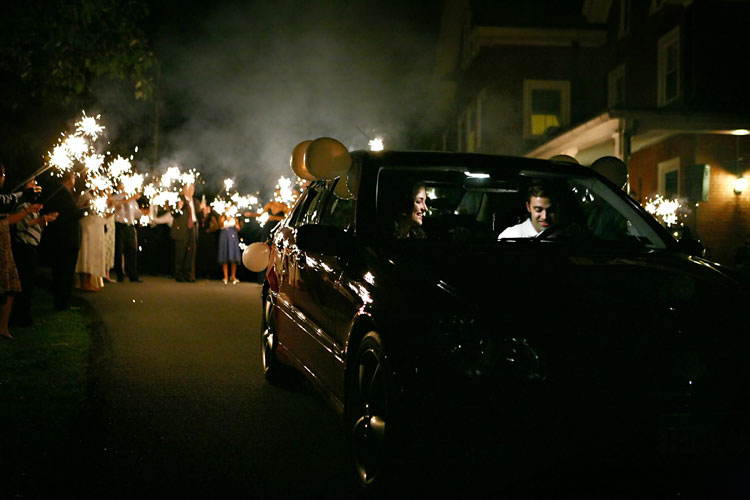
The best thing about having an intimate wedding is having the time to really enjoy your moment! We made our rounds among the guests, spoke to everyone there and personally thanked them for coming. But we also had plenty of moments just for ourselves and never felt rushed.
An intimate wedding also gives you an opportunity to put very personal touches on everything, from favors to music selection. We hand-picked the smallest details and I got the opportunity to be crafty.
What advice do you have for couples who are considering an intimate wedding?
If you want an intimate wedding, go for it! You won’t regret staying true to yourself.
Vendors:
Photographer: Leslie Gilbert Photography
Videographer: Joey Randazzo, Big City Video
DJ: Occasions Disc Jockeys , Matt
String Quartet: Camerata String Quarter
Cake: The House of Clarendon, Inc. – Martine
Make Up: Bridal Imagery – Lalani
Minister: Theresa Gilberti
Photos: Leslie Gilbert Photography
I woke up this morning feeling very agitated. I had a bad dream. A dream that I was getting married – tomorrow, and I had nothing done. I left the planning of the entire wedding to a Facebook friend. A Facebook friend that I haven’t seen in almost 20 years. I thought she’d be responsible, but she hadn’t done a thing. I had no music. No favors. No dress. No venue.
“Just hold off until next month,” was her response when I asked her why nothing had been done.
That didn’t cut it. I didn’t want to agonize over it anymore. I wanted to “get ‘er done.” That’s when I woke up, thanking the Divine Author of the Universe that it was just a dream.
Fast forward a few hours later. I’m sitting here scrolling through some of my favorite DIY wedding projects and I’m thinking: “Damn these would be fun to make. Damn I wish I was planning a wedding!” Well, almost.
Nah.
But, really, there’s so much good stuff to be had out there.
Here is one of my recent faves:
These no-sew fabric fortune cookies from Brassy Apple (via decor8) are perfect for people like me who do not sew! I’m thinking these would be perfect if you are giving away favor donations. Write the name of the charity on your message, along with an inspirational quote for your guests.
You could also use these to send “Will You Be My Bridesmaid?” notes. Learn how to make them here.
Martha Stewart also has a felt version of these. You can view the tutorial over here.
Save
By Justine Ungaro, The Unbride
When I was asked to write a DIY wedding article, I thought “sure, no problem” and then the task started to seem rather daunting. You see, as a wedding industry professional myself (I’m a wedding photographer), my take on DIY projects for my own wedding was “hire an expert and let them do it for you”. I’m just not a very crafty person since my creative juices tend to be completely used up by my career (everyone should be so lucky). So when the time came to suggest a DIY project for other brides, I was at a complete loss. So, I had to refer back to my own wedding to think if there was anything that I actually did myself and I could only think of one thing…and that was our wedding website.
When the time came for us to post something for our friends and family to get information about our wedding, I scoured all of those wedding websites and templates and although they weren’t all completely hideous or cheesy, they were all just SO wedding…with scrolly things and flowers and lace and pearls or birds or other embellishments that just did not represent us as a couple or the style of our wedding.
We also didn’t really want to post any stories about our engagement or photos of us. Really, we just wanted something simple that would relay the necessary information while also conveying that our wedding was going to be cool and fun. So, being a photographer who has put up various template sites for different projects, I decided that I should approach this website in the same way as all of the others. So, I went right over to www.bludomain.com and selected a simple template and created our wedding website on my own. I went with the EMMA template, made the purchase (for $200 including hosting for 1 year), and then customized the colors, uploaded our logo, hotel, travel & registry info and voila, instant wedding website complete with background music. And although DIY projects are often an attempt to save money, don’t forget that although this route was more expensive than many of the other options, it was all about filling a need, and that we wanted something custom that wasn’t readily available.
But don’t forget about all of the other free ways that you can relay information about your wedding to your guests. Maybe instead you might choose to create a Facebook Group, a Myspace Page or a blog from WordPress, Squarespace, Typepad, Blogspot or other blog format?
Use your individual knowledge and talents to create something that is yours and yours alone.
To view our wedding website, visit http://justineandgary.com
 The Unbride blog was hatched from the mind of wedding photographer, Justine Ungaro who had seen it all and knew exactly what she didn’t want her wedding to be. An avid blogger, she feared she might bore her photography blog readers with details about her own wedding and therefore set out to start a new blog to help connect with other brides who saw their weddings as a statement of personal style as opposed to going along with the wedding status quo. Since then The Unbride has evolved into an internationally celebrated blog in pursuit of inspiring and empowering women to plan their own weddings to be unconventional and unforgettable.
By Sara Cotner, 2000 Dollar Wedding
I undertook several DIY projects for my wedding, including our embroidered life story around the bottom of my dress, my partner’s tie, our invitations, flower pins for the wedding party, name tags for the ‘Welcome Picnic’, program fans for the ceremony, wedding favors, a wedding quilt, cloth napkins for the reception, our wedsite, and a ring pillow.
Not only did these projects help us save money, they also allowed us to infuse our wedding with meaning. With each project, I found myself working through the same stages.
Stage One: Pure Excitement
I love the brainstorming phase. I love conducting research on Google to read how-to tutorials (I usually undertake projects I have no experience with). I love searching for ideas and sorting through pictures of other people’s amazing crafts.
Stage Two: Self-Doubt
Sometime during the brainstorming stage, I look at everyone else’s stuff and wonder if I’ll be able to make something half as good. I start to get mired in all my ideas and flounder a bit because I’m a perfectionist and I’m always striving for the one perfect thing.
Stage Three: Commitment
My Jiminy Cricket voice reminds me that there’s no such thing as “the one perfect thing” in arts and crafts (I haven’t gotten to the stage in my development where I’m willing to admit that about everything else in life…hmm…). I decide on an idea and I commit to doing it.
Stage Four: Pure Fun
It can be relaxing and meditative to do crafts. Sometimes I reconnect with friends or family while I cut or sew or embroider. Sometimes I just think through the day. Other times I just let my mind go blank and sing along to the stereo. I think, “This is fun! I’m so glad I started doing this.” In my highest moments, I start scheming ways to turn my crafts into a business. I start thinking through the details of making millions of them.
Stage Five: Regret and Frustration
Sometime in the middle of all the fun I’m having, I start to realize that I have undertaken something that requires way more work than I realized. And it’s hard. And it stops being fun. And I’m making mistakes. I even play a little game with myself. It goes something like this: Self, “How much would someone have to pay you to get you to make one of these for them?” Depending upon how deep into the stage of regret I’m in, my answer is usually along the lines of a thousand or a million dollars (that’s how frustrated I am!).
Stage Six: Sheer Pride
And then the damn thing gets done. And it’s not perfect. It’s crooked or smaller than I anticipated or not as comfortable as I thought it should be. But I am so, so proud of producing something useful with my own two little hands. I end up feeling more connected to myself and the world around me. The best part is I get to re-live the sheer pride stage over and over again whenever I pass by the aforementioned craft.
 When Sara Cotner and her partner-in-crime/crafting decided to tie the knot, they resisted the pressure to create the wedding of someone else’s dreams and instead forged their own path in a budget-minded, eco-friendly, hand-crafted way. Attempting to steer clear of the Wedding Industrial Complex and avoid losing their sanity and savings, they pulled off a weekend wedding extravaganza in the mountains of Colorado for a whopping $2,000 and bought their first house two days later. Sara advocates daily for meaningful and memorable weddings that focus on community, commitment, connection, and fun at http://2000dollarwedding.com. Her part-memoir, part-how-to handbook is due out this spring.
When she’s not thinking about weddings, Sara is a tomato-growing, yogurt-making, vintage pottery-collecting, Scrabble-playing, document-producing, fondue-eating, bloodhound-babysitting, dishtowel-knitting crafter and creator who spends her days closing the achievement gap as an educational consultant.
Her crafting compulsion started at age eight when she read Ramona Quimby and decided to take up sewing. She proudly produced her first scrunchie (it was, afterall, the 1980s). Now she dabbles in knitting, sewing, stamp-making, embroidery, appliqué, graphic design, magnet-making, and anything else that has an internet tutorial.
Save
